If you’re here, it means you’re ready to start recording your audiobook remotely using the “Your Voice” package. This step by step process will ensure a successful setup:
Step 1: Recording Gear You’ll Need to Start
If you already have a pro microphone/pop filter and know how to use it, then congrats you can skip this, and head to the Initial Audio Assessment section. If you don’t have a mic or experience recording, we will make it very simple for you!
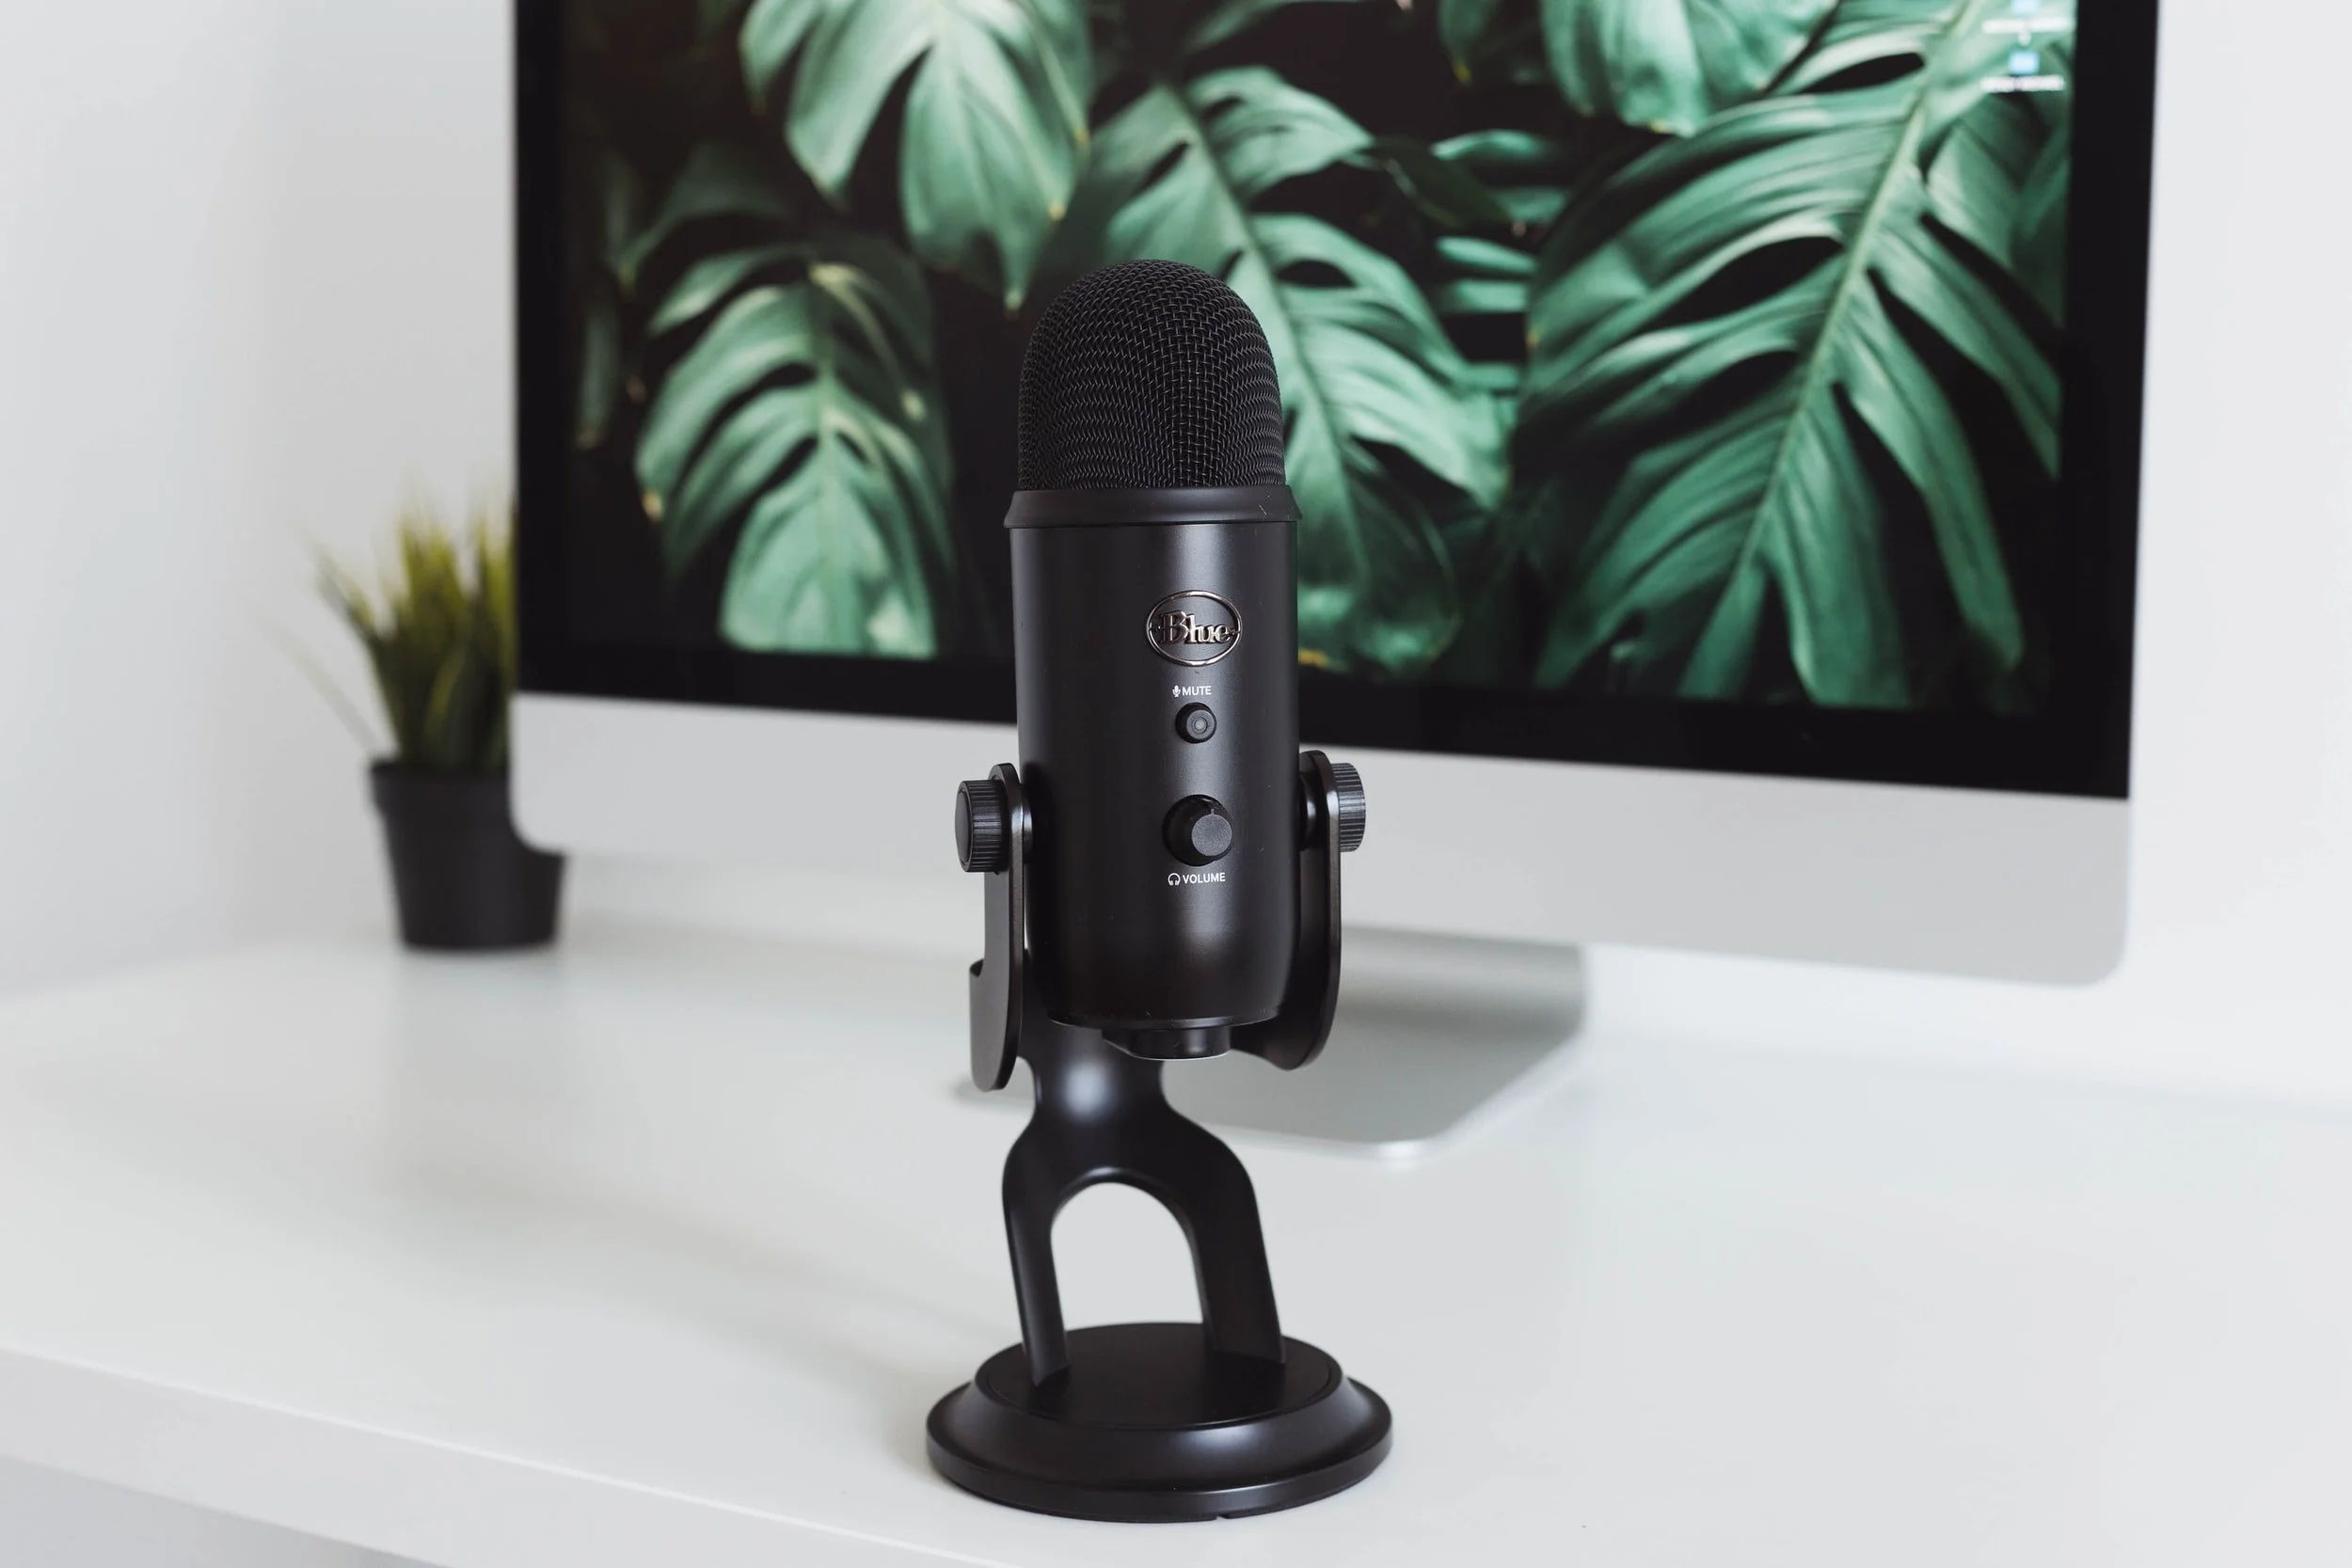
We recommend one of the most popular and affordable usb microphones on the market, it’s called The Blue Yeti. You can get it on Amazon here:
Above is US, for CAD Buy Here
Next you will need a Pop Filter to go with it, this helps remove harsh plosive sounds when you’re recording, here is our recommendation:
Above is US, for CAD Buy Here
Side Note: Find a small quiet room to record in (with carpet, furniture, or anything that absorbs sound). The less echo/background noise the better.
*We know life gets in the way in terms of external noise in your recordings and we can remove a lot from our end, so don’t worry. Don’t aim for perfect, aim for authentic when narrating your audiobook and your audience will appreciate it!
Step 2: CHoose free recording software to use
In order to record, you’ll need recording software. There are two free options that are great depending on wether you use a Mac or PC:
For Mac users our recommendation is: GarageBand
For PC users our recommendation is: Audacity
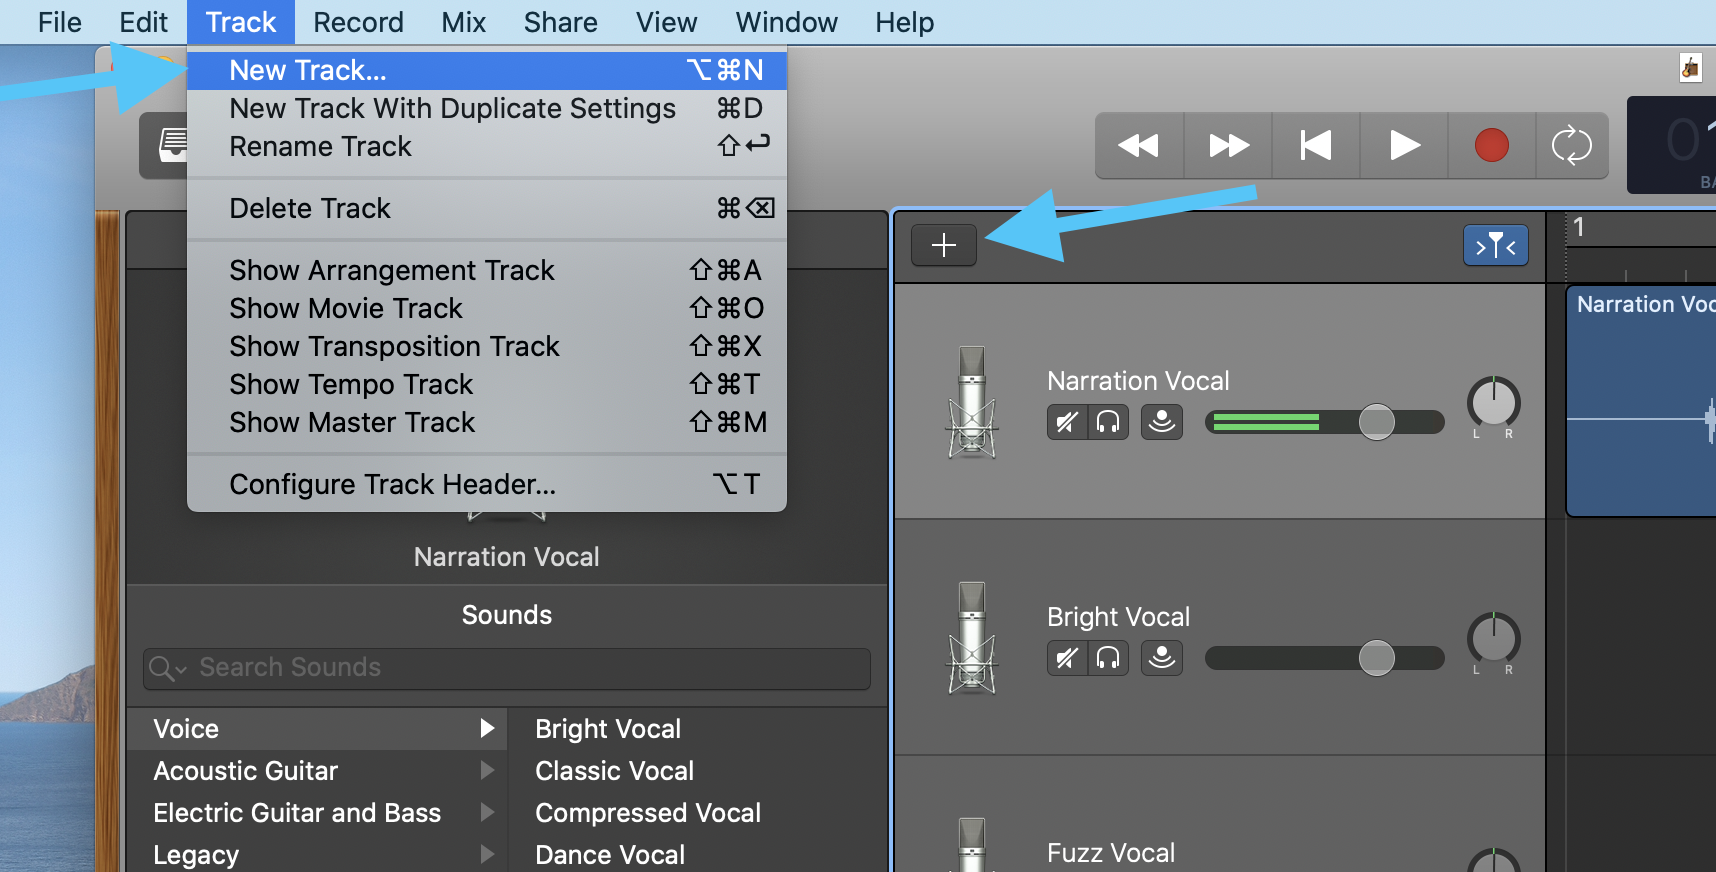
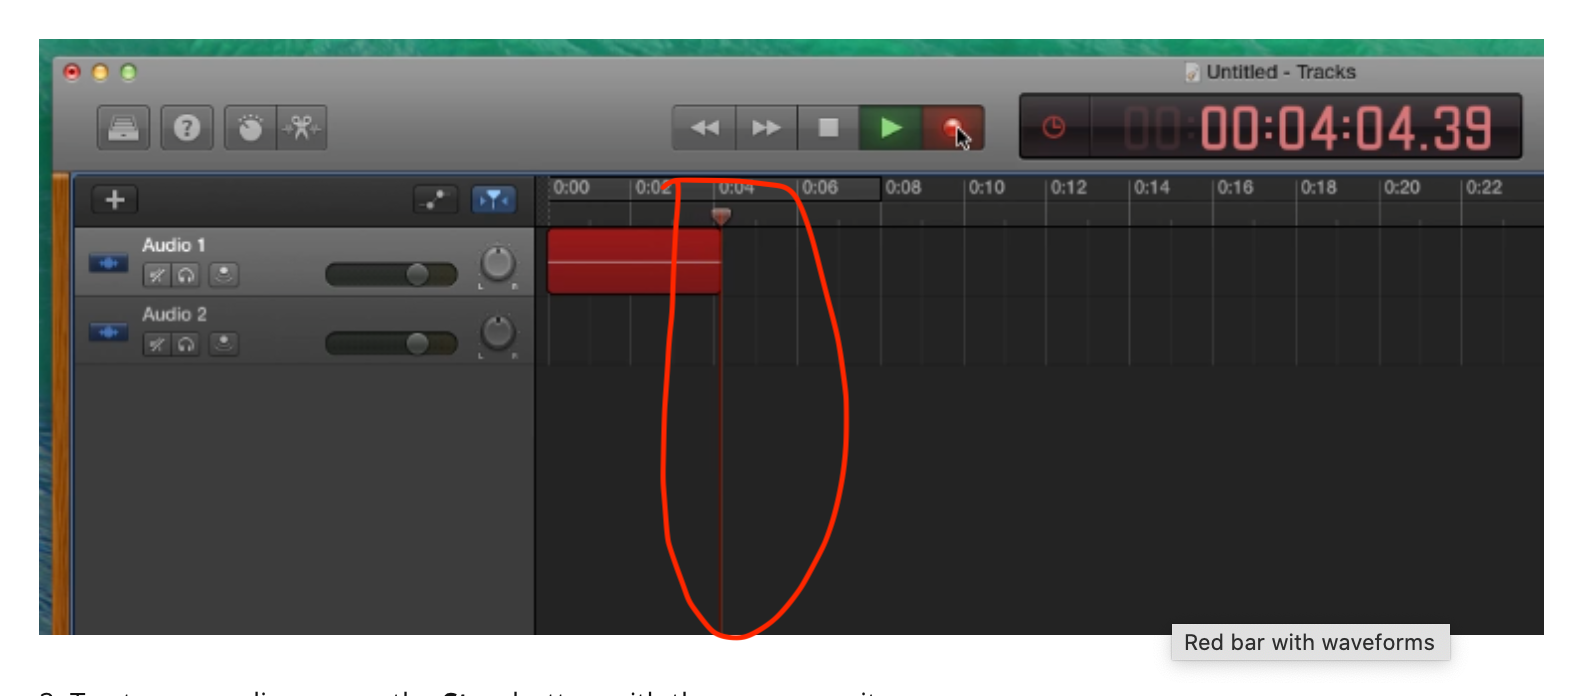
Step 3: learn how to start recording fast
These videos are concise, to the point, and under 4 minutes! Based on which software you’re using watch the related video:
Step 4: Setup your Blue yeti mic PROPERLY
Now that your audio gear has come in, it’s time to set it up properly for audiobook recording!
Turn your mic around, you will see the gain knob which adjusts the loudness being captured by the mic. Remember, it's easier for us to make a quiet sound louder than it is to save a recording that's distorted from being too loud, so start with the gain knob all the way down and then bring it up to about 30% for a cleaner recording. See image below for reference:

Below that you’ll see a lot of different symbols, those are different recording modes. Set it to the one that looks like a little heart, it’s called Cardioid mode.

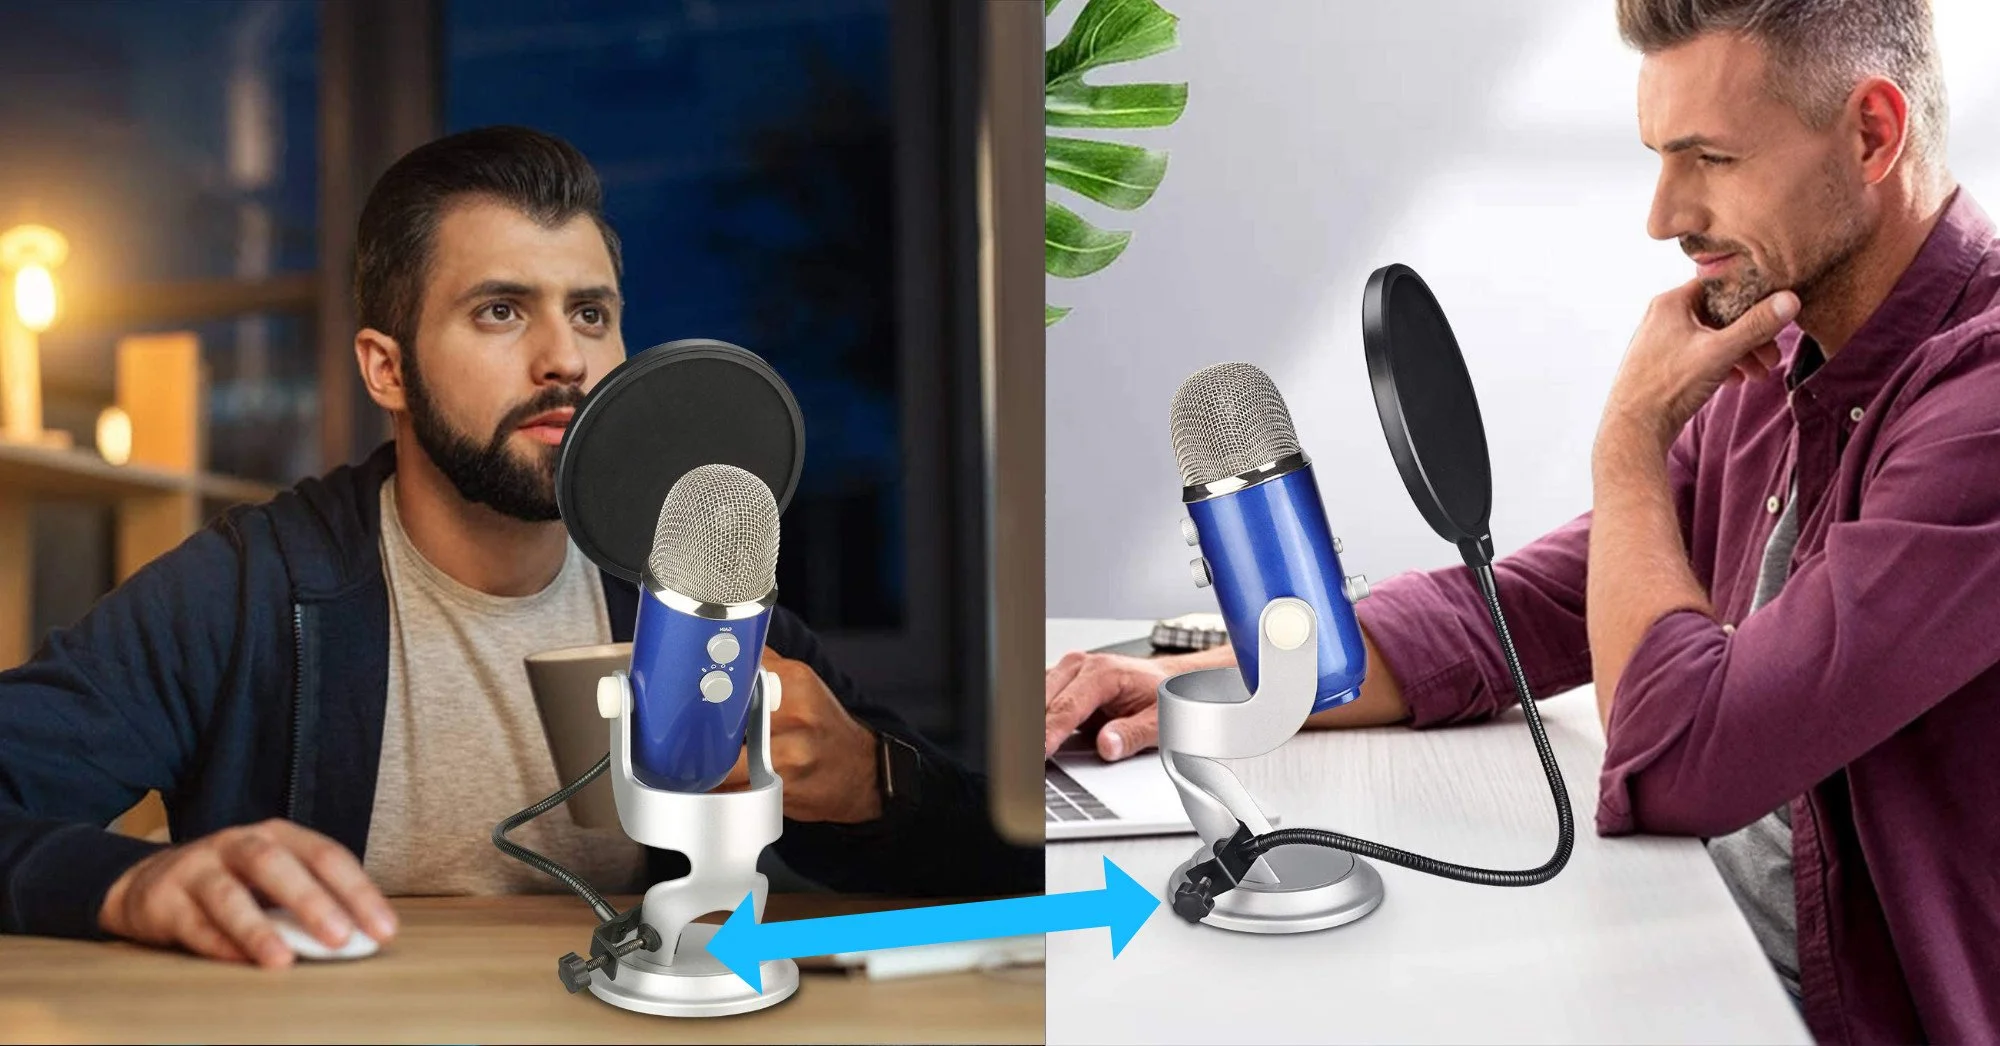
Don’t speak into the “top” of the microphone. The Blue Yeti is a side-address microphone, meaning you speak into the side of it.
See the image below to understand the proper way to position it:

Make sure your between 4 - 9 inches away from the Blue Yeti microphone when speaking into it (not the pop filter) the pop filter will be closer to you because it will be in-between that space.

Step 5: Install your pop filter
It’s fairly straight forward, just clamp and twist it on the lower metal part of the frame until it is securely in place. You can view it below:
Now that you’re all set to record, we’ll need to give you the go ahead to begin recording your audiobook. In order to do that follow the steps in the Initial Audio Assessment section below.