Music Production

7 Tips for Setting Up Your Studio Monitors

pexels-marinko-krsmanovic-2651794.jpg

You just purchased some high-quality, expensive studio monitors and placed them in your studio, but your sound hasn’t improved. Don't worry, you can fix this!

The most important part of adding studio monitors to your recording setup is knowing where and how to set them up. 

For your studio monitors to produce the quality of sound you are looking for, you need to adjust a couple of things:

  • Placement of monitors

  • Where you sit

  • Placement of Subwoofers

I’ll be breaking down 7 tips on studio monitor placement below, so keep reading!


Tip 1 - Desk Placement

Your entire setup should be placed away from any walls and avoid corners. When studio monitors are placed close to walls, the sound hits the wall and reflects back to the listener. This causes phase cancellation.

Ideally, your monitors should be at least 8-12 inches away from your back wall. If you’re working in a small room this can be inconvenient, but this layout will offer you easy access to the back of your setup.


Tip 2 -Studio Monitor Orientation

Feel free to experiment with the orientation of your monitors. It's all about finding the right sound that fits the room you're in.

Most manufacturers don’t recommend that you place your monitors horizontally, but some do. If you do prefer to have your monitors horizontal, make sure they mirror each other with the tweeters facing out.

Note: Tweeters are responsible for producing high-frequency sounds and are the smaller driver/speaker in a monitor cabinet. 


Tip 3 - Finding the sweet spot

When you listen to a mix through your monitors, you’ll want to hear it at its best sound. The place that offers you the best listening experience is called the sweet spot. 

The sweet spot is directly in the middle of two studio monitors, where the sound from each speaker overlaps. 

To find the sweet spot, angle your monitors so the tweeters’ position forms an equilateral triangle with your head as the point.

Here is a diagram to show this:

 
Diagram.png


Tip 4 - high frequency driver height

High-frequency sounds are more directional than low-frequency sounds. This means that you can better hear high frequencies if they are pointed directly at your ear. 


Once you have created an equilateral triangle with your head and monitors, make sure your ears are at the same height as the tweeters. 


If you find the tweeters are too high, try inverting your speakers so the tweeter is on the bottom.


Tip 5 - Overall Setup

With your setup, you want to create a balanced listening position. You can do this by placing speakers at the same distance from each side of the room. If the left speaker is two feet from the back wall and 5 feet from the side wall, the right one should be the same. This provides low-frequency accuracy and minimizes side wall reflections. 


It's also important to remember that the speaker's distance from the back wall should be different than the distance from the side walls.

troy-t-dX76Mts-LVM-unsplash.jpg


Tip 6 - Monitor Stands

Monitors placed directly on a desk cause the sound coming out of them to bounce off the hard reflective surface. This can lead to loose screws and noises that could subtly mess up your mix.


Monitor stands can help place speakers at ear level and prevent reflections that may ruin the listening experience. 


Isolation pads are foam or rubber pads that help absorb vibrations or resonance that may occur if your speaker is directly sitting on a hard surface. They are ideal if you are on a budget.


Tip 7 - subwoofers

Once you have found the ideal placement for your full-range monitors and your room is acoustically treated, it's time to add subwoofers. 


Your subwoofers should act as an extension of your full-range monitors and be on the same plane as your monitors. 


Because low frequencies are not directional, you have more freedom in choosing where to put your subwoofers. However, it’s important to avoid reflective surfaces like walls or corners. 


You can find a good place for your subwoofer by playing a song with lots of bass in it, then moving your subwoofer until you find a place where the sound is good and it works with your set-up.


Tip - 8 Calibration

When your set-up is complete, it’s time to calibrate. You can learn more about calibration here.

Written By: Leah Gerber


Conclusion

It may take time to get your studio monitors and subwoofers placed in exactly the right spot, so don’t be afraid to adjust it until you find that sweet spot.

If you need further help creating your own music, we offer audio production services that will help you elevate your sound and bring your song to life!

We look forward to being a part of your success.

Do you have any tips for studio monitor placement? Let us know in the comments below!

6 Best Acoustic Foam Panels for Your Home Studio

michal-czyz-KPj62w4uEkM-unsplash.jpg

If you’re looking for a cheap and effective way to acoustically treat your home studio, foam acoustic panels might be for you. 

Foam acoustic panels are simply pieces of foam that you hang on a wall to reduce unwanted sound and echoes from your room. They come in different shapes, sizes, and colours, so you’ll be sure to find one that works well and looks awesome in your studio


NRC

Before we get started, it’s important to understand what NRC is. NRC stands for noise reduction coefficients. It is measured on a scale from 0 - 1. 0 NRC absorbs no sound and 1 NRC absorbs all sound. 

You won’t have to worry about NRC too much, but it is an important thing to keep in mind while looking for acoustic panels.


1 - Auralex Acoustics Studiofoam

These panels are good for a lot of things. They are small and fit into any room and they allow you to spot treat your home studio. 

 
Auralex Studiofoam wedges.png
 

Features

  • 2” Thickness

  • .80 NRC

  • Works well with spot treatment


2 -  Auralex Acoustics SonoFlat Acoustic Absorption Foam

These foam panels come in multiple different colours and range in 1” thickness - ¾” thickness.

 
Auralex Sonoflat.png
 

The panels are meant to dampen sound, and not soundproof an entire room, so keep that in mind. These panels are great for making some extra noise without disturbing people, as well as listening to your music without extra reverb

Features

  • Available in different colours

  • 0.95 NRC

  • Dampens sound


3 - Foamily Ice Blue Acoustic Foam Egg Crate Panel Studio

Foamily panels are great for treating walls in a home studio, office, or even an entertainment theatre. 

 
foamily 6 pack.png
 

The tiles are 1 square foot and 1 inch thick. They do a great job of getting rid of reverb and flutter echoes. 


Features

  • Reduces echo

  • 1” thick

  • Affordable


4 - ATS Wedge Foam Acoustic Panels

These panels are larger and great for covering a whole room.

 
ATS Wedge Foam Acoustic Panels.png
 

Features

  • 2 square feet

  • Effective

  • Easy to install


5 - Siless Acoustic Foam Panels

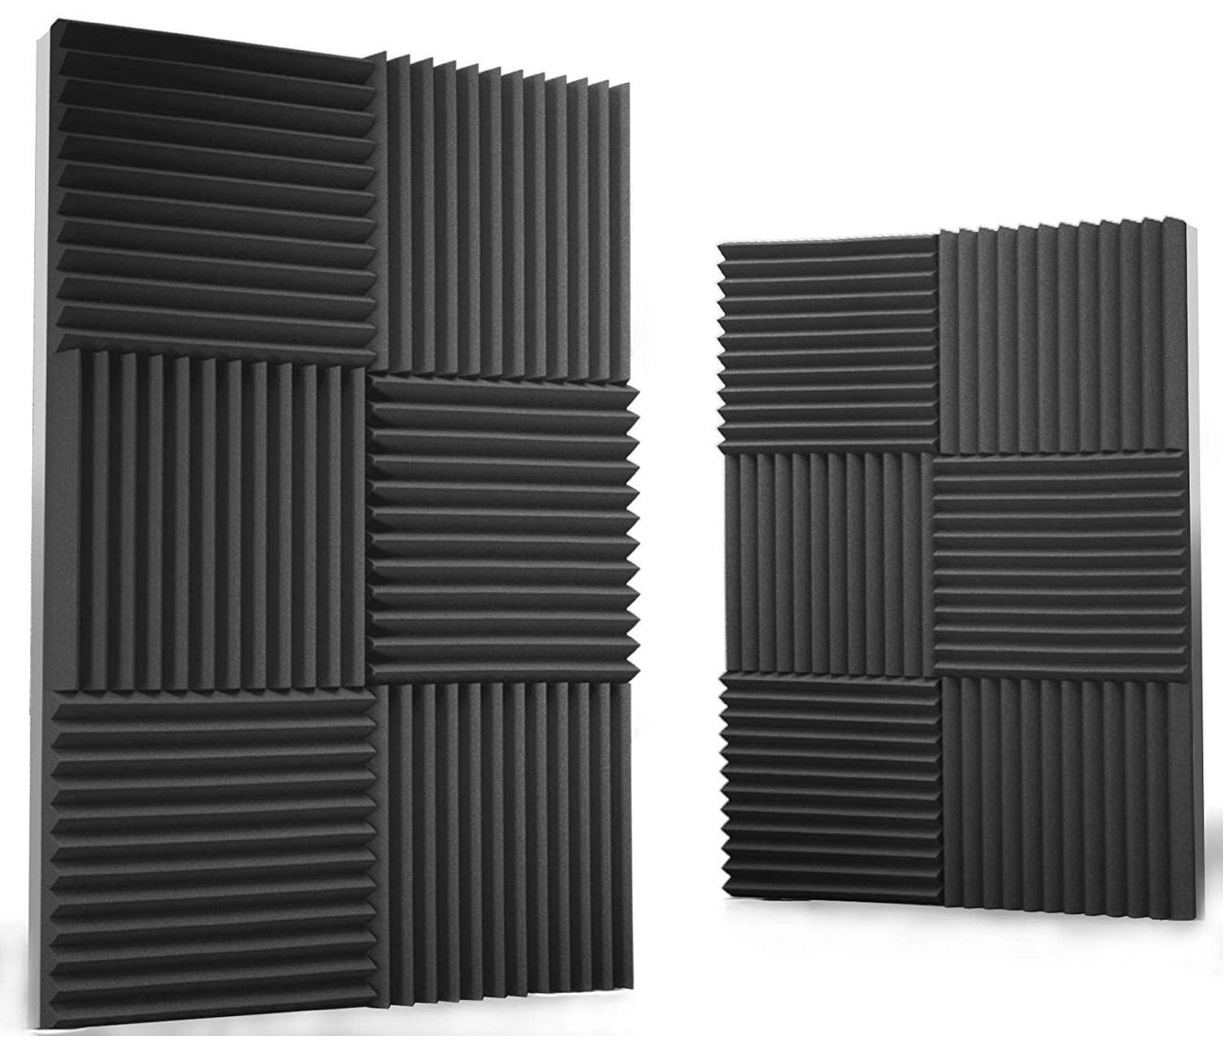
Siless Acoustic foam panels are inexpensive and studio-grade. They come in packs of 12 with 12” x 12” dimensions. 

 
Siless.png
 

Features

  • 1” thickness

  • Visually pleasing

  • Lightweight

  • Inexpensive


6 - Auralex Acoustic Roominator Acoustic Absorption Kit

If you have a home studio but don’t want the hassle of having to do all the extra work to install studio panels, this kit will be great for you. It’s great if you are setting up a studio for the first time and you don’t have a lot of experience.

Auralex Kit.png


Features

  • Great for beginners

  • 36 square feet in total

  • Includes everything you need


Some things to remember

  • Acoustic panels do not block low frequencies (look into purchasing a bass trap instead)

  • Bass traps are placed in corners, acoustic panels are placed in corners

  • Acoustic panels are not meant to soundproof rooms

  • The most important part of the room that should have panels is behind your studio monitors

  • Don’t put panels opposite each other

Written By: Leah Gerber


If you need help taking your music to the next level, we offer online mixing & mastering services that will elevate your sound and bring your song to life!

We look forward to being a part of your success.

Conclusion

Foam acoustic panels can be very effective when working in a home studio. Well most of them do the same thing, it’s important to consider if you want to treat a whole room or just parts of it, if you still want a room to be decorated nicely after hanging them, and if you are still a beginner with music.

Already own foam acoustic panels? Let us know which ones you have and what you like about them.

How to Be Successful on Spotify as an Unsigned Artist

cover-img.jpg

Streaming has become the main way to listen to music in the past few years and Spotify has become the leader in this industry. 

Spotify is not just for people who listen to music, it’s also a great platform for the artists creating it. 

As an unsigned artist, it can be hard to increase your streams and fanbase on Spotify. Here are 5 tips to becoming a successful artist on Spotify


Tip 1 - Uploading your music to Spotify

Uploading your music onto Spotify is not free. According to Cymatics, it costs 10.00 - 30.00 USD depending on how many songs you upload. 

If you’re signed with a record label, they will take care of getting your music on Spotify, if you’re independent, this needs to be done yourself. 

Music distribution companies like Distrokid will help get your music on any major streaming platform. We definitely recommend Distrokid to independent musicians as they are very reasonably priced and get you on all platforms including TikTok and Instagram music.

Music distribution services can also do the following:

  • Digital marketing

  • Artist services

  • Collect and pay royalties generated from your music

Each music distribution service has different features that they offer, so make sure you do some research before choosing one. 

For an in-depth step by step guide one getting your music on all streaming platforms make sure to check out this blog here.


2 - Set up Spotify for Artists 

When you have music uploaded to Spotify, you can claim your verified artist profile. This will allow you to manage your profile, view audience stats, access music marketing tools, pitch new music to playlists, and a variety of other things.

Perks of being verified on Spotify

  • The blue checkmark shows that this is your official artist page

  • Access to analytics about your listeners and music

  • Add a bio, images, the music you’re listening to, and tour dates

  • Send your music to playlist curators and Spotify’s editorial team

  • Access to promotional tools

Check out this video to learn more about Spotify for Artists.

A professional Spotify artist profile will make you credible and attract more listeners, fans, curators, and other music business professionals. 


Tip 3 - Create Personalized Spotify Playlists

Charts and playlists are the biggest way to grow streams on Spotify. They create an easy way for your music to be heard by millions of people. 

pexels-ivan-samkov-4162581.jpg

It’s difficult to get your music on official Spotify playlists as they are controlled by major labels or Spotify’s editorial team. 

You can create your own playlists to share your own and others' music. 

A successful personalized playlist has the following:

  • Your own music

  • Other artist’s music

  • Updated regularly

  • Accessible and easy to find (try pinning the playlist on your profile)

  • Shared on social media

  • Creative playlist cover and a unique name

Like most social apps, engaging with others is crucial for growth. Active users are more likely to get more streams, be featured on popular playlists, and appear higher in searches. 

Tip 4 - Submit your music to playlist curators

Spotify has millions of playlists generated by their editorial teams, algorithms, independent curators, and Spotify listeners. 


Here are some ways you can get your music on Spotify Playlists

  • Verify your Artist Profile

  • Share unreleased music to the Spotify editorial team. You can learn more about this here

  • Pitch to independent curators

  • Directly contact playlist curators to feature your music

  • Create and regularly update personalized playlists

  • Follow and support other artists, they might return the favour

  • Share your music on social media, music blogs, music-related websites, and pitch unreleased songs as well

  • Encourage fans to follow you on Spotify

  • Focus on releasing quality music

  • Be active on Spotify


It will take time to build a successful Spotify profile and be featured on Spotify playlists, but staying active will pay off. 


Tip 5 - Use Spotify promotion tools and resources

A list of resources Spotify offers

  • Ad Studio

  • Spotify Codes

  • Embedded Spotify follow buttons

  • Shareable Spotify Links

  • Social Media Promotion


Click here to learn more about these resources. 

Written By: Leah Gerber

Conclusion

It can take time and effort to be successful on Spotify. The important thing is that you don’t give up, even if it is taking a while for you to get streams and a fan base. 

Stay active, promote other’s music, and don’t be afraid to reach out to playlist curators, or other influencers to get your music heard.

Are you an artist who has had success on Spotify? Let us know in the comments below what tips helped you achieve your success. 

-

If you need further help creating your own music, we offer audio production services that will help you elevate your sound and bring your song to life!

We look forward to being a part of your success.