
Recording guitars, bass guitars, or vocals in a home studio is easy. But if you want to record drums, you may come across several issues.
A real drum kit requires space, good acoustic treatment, and your room might not be suitable for that. Also, you might even don’t know how to play drums.
That’s why the VST drum plugins are a great solution for drum recording in home studios. Virtual drums give you the ability to record any drum part with a MIDI controller. Also, they come with many pre-recorded parts you can use.
In this post, we will show you the best VST drum plugins that are great for recording.
Acoustic Drums
Acoustic drum plugins allow you to create realistic drum patterns. These VSTs have built-in mixers, grooves, and mixing tools.
GetGood Drums

Price: $99
GetGood Drums modern and Massive pack is a great-sounding VST drums plugin. It has very realistic sound and features. It’s very easy to use, you can add effects, EQ, and make it mix-ready.
The plugin is great for a variety of music genres such as pop, rock, and even heavier music. Works with Kontakt Player.
Features:
Built-in Groove Player
Intuitive interface
Built-in reverb
Multiple snares, kick, and toms options
EZdrummer 2

Price: $170.52
EZdrummer is a very popular and favorite drums plugins for many home recording engineers. The reason is that it sounds great and offers many features. You can choose different kits, which has a built-in mixer, and hundred of grooves.
Works as a standalone and as a VST plugin. You can easily create drum patterns and insert them in your DAW.
Features:
Built-in mixer
High-quality grooves
Multiple drum options
Song creator feature
Addictive Drums 2

Price: $869
Addictive Drums 2 by XLN Audio is an old plugin that works perfectly today. You can choose different kits, individual instruments, shape the sound, etc. The sound of the plugin is realistic and organic.
Includes built-in mixer, EQ, compressor, and other tools to make the custom sound. You have the option to buy separate drum packs such as pop, rock, and more.
Features:
Realistic sound
Built-in mixing tools
Multiple drum kits
MT Power Drumkit 2

Price: Free
MT Power Drumkit 2 is a totally free plugin that offers really high-quality sound. It has a full drum kit with features such as a mixer and grooves. Works with every modern DAW and MIDI keyboard.
The mixer allows you to channel every track separately, control panning, and add compression. The sound is very realistic.
Features:
Built-in mixer
High-quality grooves
Multi-channeling option
Electronic Drums
Electronic drum VST plugins are great if you create EDM music. You can choose different kits, sounds, and shape them to your liking.
Battery 4
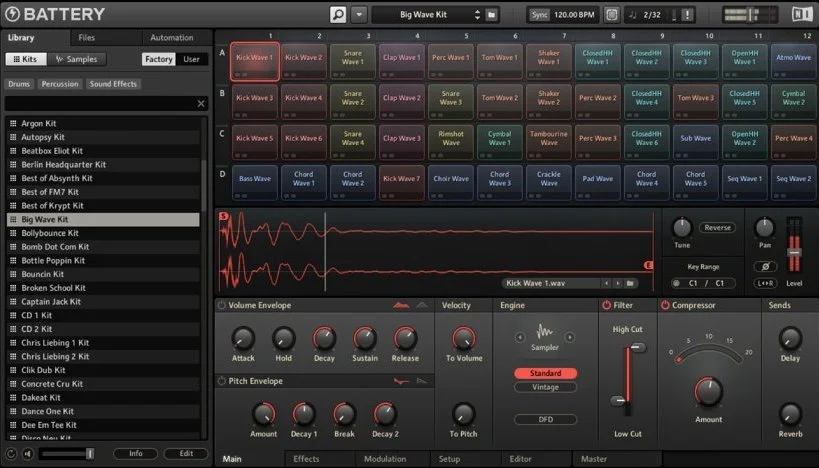
Price: $199
Battery 4 is the most popular and powerful drum sampler. Its main use is for electronic drums but can be used for acoustic drums too. The drum collection is massive and also editing is very granular.
You can use it as a standalone app or as a VST plugin in any modern digital audio workstation.
Features:
Massive drum kits collection
High-quality sound
Many built-in tools
StudioLinked Drum Pro

Price: Free
Drum Pro offers high-quality drum samples for free. This is a great plugin if you create and record EDM music. Also, many hip-hop or trap musicians use Drum Pro.
Has twelve programmable pads and you can control volume and pan for each pad. Also, has a built-in compressor and reverb.
Features:
Built-in mixer
Programmable pads
Compression and reverb
Trax Drum Machine

Price: $50
Trax Drum Machine is another great drum plugin for hip hop and electronic music. Has a very modern interface and it’s easy to use. Comes with 50 drum kits with a variety of individual instruments.
Another great feature of Trax is FX, pitch, reverb, and more. You can create 4 layers of effects which makes the sound more comprehensive. It’s an 8-channel drum machine.
Features:
400+ drum samples
16 stereo output
FX layering
Very lightweight plugin
Afroplug

Price: Free
Afroplug is a drum VST plugin for Mac and Windows. This particular plugin is great for RnB, Reggae, and Lo-fi music. Comes with over 100 sounds and 10 presets. Works with all modern digital audio workstations.
The interface of Afroplug is very modern and easy to navigate. Offers features such as mixer, compression, reverb, saturation, and much more.
Features:
Built-in filters
Reverb and saturation
ADSR option
Conclusion
VST drum plugins are very easy to use and effective for home recording. They offer great sound, built-in features, and its quick to create drum patterns. These plugins are perfect for demo songs but can be used for professional recording. If you want to make your drum recording process faster and hassle-free, it’s time to use virtual drums.
Free plugins are great for beginners and if you want to get used to them. After you master it you can upgrade to premium ones.
-
If you’re wanting to learn more about drums, music production, and business, we are developing a course called Producer Launch that will take you from beginner, all the way to knowing how to become a successful producer for a living!
Sign up here to be notified when it launches for an exclusive 50% off!