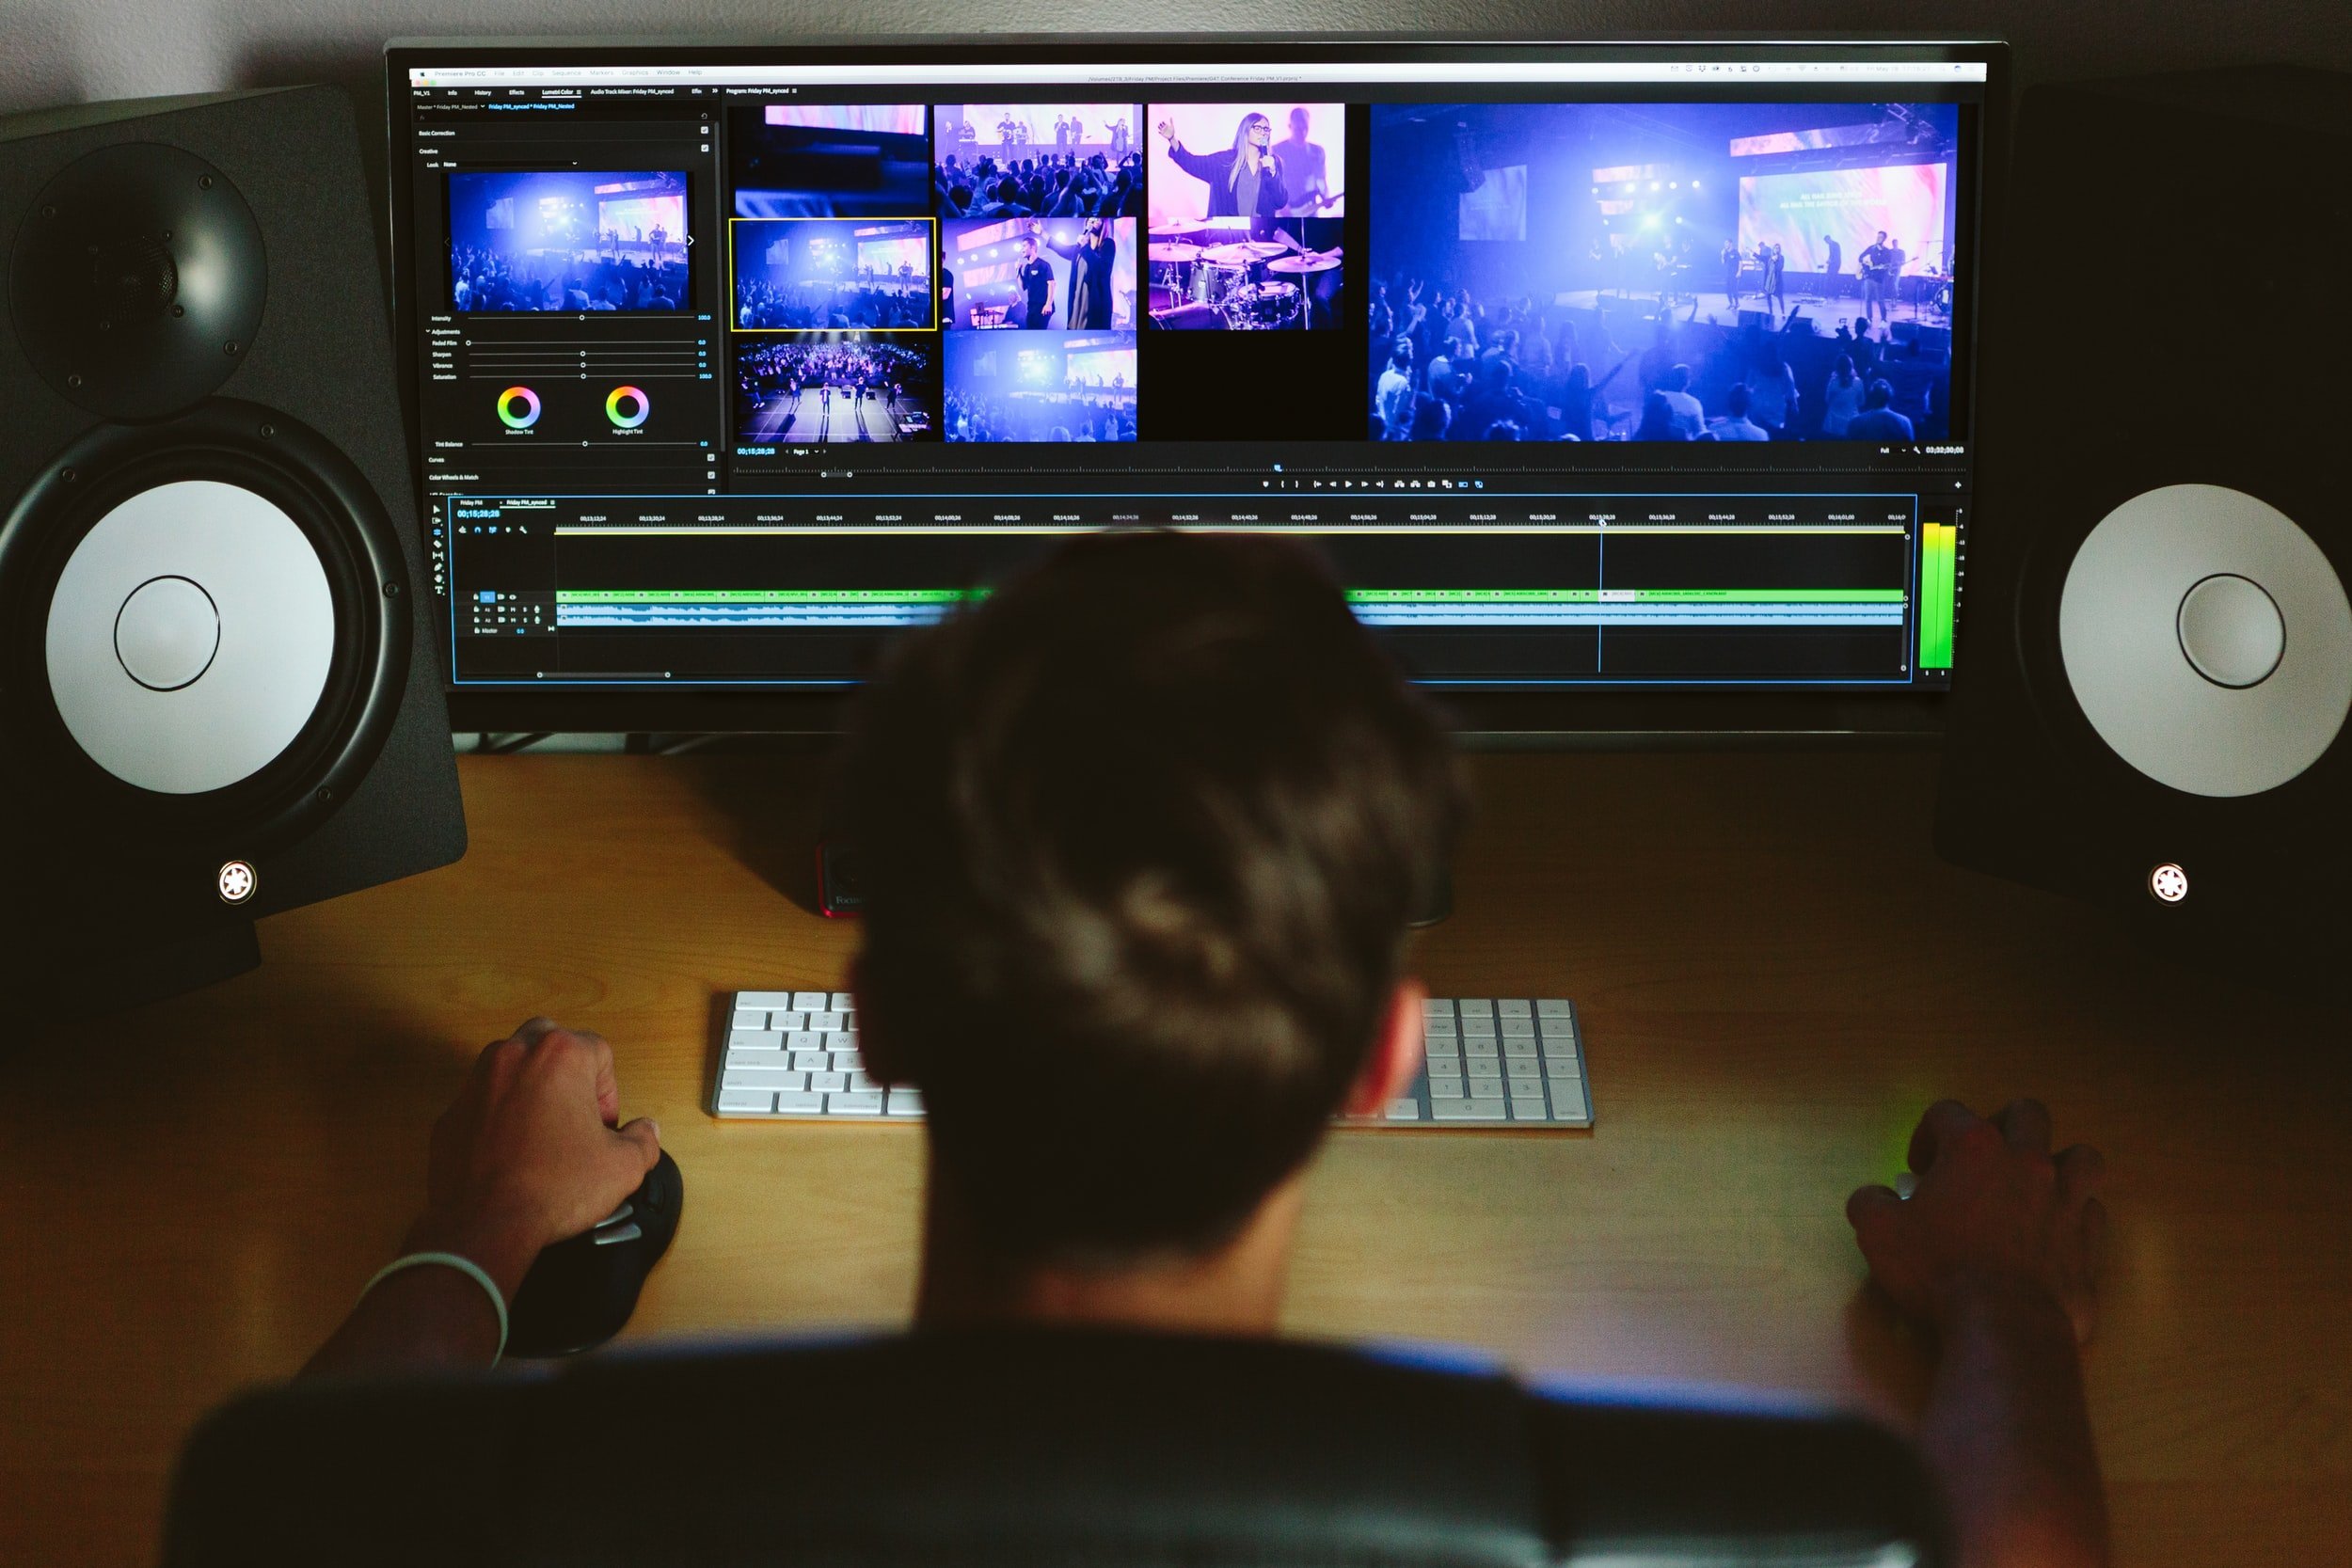
video editing tips

Top 11 Video Editing Apps for Instagram Reels

Thanks to the rise of short bite-sized videos in popularity, more and more people are now interested in creating engaging and viral posts on Instagram Reels. These types of posts can both be used for business promotion or by individuals but one thing is certain. If the content does not stand out and does not visually appeal to the viewer, the chances of succeeding are extremely low.  

This is when reel editing apps come to help. With the following editors your reels will stand out and guarantee high view count and engagement.


1) Movavi Video Editor

If having all the necessary tools in one place is what you are looking for, Movavi is an obvious choice. With its big library of filters, transitions, and AI-based tools such as chroma key, image stabilization, and object detection, Movavi gives you plenty of room for self-expression and creativity. It is primarily designed for editing and enhancing videos for social media and makes the content creation process simple and quick.

Movavi’s toolset also includes crucial features such as video merger, combiner, trimming, and cutting.


Don’t know where to start? Movavi’s blog will provide you with the necessary guidance in creating perfect reel videos. Here you will find beneficial tutorials and in-depth articles.

Availability:

●     Google Play

●     Apple App Store


2) Inshot

Inshot is a great tool for trimming, merging, splitting, or removing unwanted parts from a video. It also gives you the ability to adjust the speed of the video on the go.

Inshot’s rich library of filters gives you the creative edge in turning raw videos into interesting and lively social media posts. Pre-existing sound effects are also a great addition alongside free music and voiceovers.

Availability:

●     Google Play

●     Apple App Store


3) Adobe Rush

Adobe Rush is Adobe’s video editor made for convenient and quick editing and publishing on your mobile. Its priority is to make video editing for social media easy, without any additional obstacles. You can use Adobe Rush from anywhere and on any device.

Availability:

●     Google Play

●     Apple App Store


4) KineMaster

KineMaster is for creators who want high-resolution and crisp videos. It offers thousands of trending high-quality templates and 4K video export.

Apart from its powerful editing capabilities, KineMaster has an advanced audio editor with a library of royalty-free music to choose from.

Availability:

●     Google Play

●     Apple App Store


5) Canva Video Editor

Apart from being a great tool for creating eye-catching designs and editing photos, Canva also has a great video editing tool. It works with Instagram Reels, as well as TikTok and other platforms, and offers features such as social media post scheduler.

You can also use Canva’s extensive library of illustrations and images to make your reels stand out. Overall, Canva video editor is a powerful tool for enhancing and editing Reels.


Availability:

●     Google Play

●     Apple App Store


6) Clips

Making announcements on social media is fun. Clips app helps make it even more unique by introducing emojis, animated characters, and stickers to short 15-second videos. The videos also have subtitles that accurately transcribe what is being said. You have unlimited options when it comes to customization and can also add an intro/outro animation. The only drawback of Clips is the lack of availability for Android users.


Availability:

●     Apple App Store


7) CapCut

Being created by ByteDance, TikTok’s parent company, CapCut’s goal is to make short videos that attract people both through visuals and sound. With CapCut, you have the ability to choose from millions of sounds and add dramatic visuals to the videos.

What makes CapCut such a powerful tool for creators are its pre-existing overlays and animative templates.


 Availability:

●     Google Play

●     Apple App Store


8) Splice

 Want your videos to look like they have been shot on a professional camera? Splice will help you accomplish that. With cinematic filters and transitions, it has the power of a desktop video editor on a smartphone.

Videos that get edited on Splice always look polished and smooth. It also has an intuitive interface and is easy to use.


Availability:

●     Google Play

●     Apple App Store


9) PicsArt

PicsArt is a well-known AI-assisted editing app offering both photo and video-enhancing features. Following trends is easy with PicsArt as it also keeps you up-to-date with the latest tips and tricks.

The advantage you have with PicsArt is the ability to masterfully crop, trim and cut videos exactly the way you want.

With PicsArt’s Replay feature, you can create captivating videos in a couple of clicks.


Availability:

●     Google Play

●     Apple App Store


10) Zoomerang

With Zoomerang, you can create short GIF-like looping videos for Instagram Reels and add beautiful transitions and special effects to them.

Zoomerang’s 1M+ premium assets will ensure your videos are share-worthy and drive up your engagement. It can be used both by businesses to showcase their products or influencers.

Zoomerang’s recent feature includes turning a photo into moving AI generative art.


Availability:

●     Google Play

●     Apple App Store

11) VivaCut

Do you have to retake videos because the lightning was not good? With VivaCut you have the opportunity for in-depth brightness, contrast, saturation, and color control.

VivaCut also has features for cutting, duplicating, splitting, and cropping videos. Changing a video’s aspect ratio with VivaCut is a matter of seconds.

Availability:

●     Google Play

●     Apple App Store


The emergence of Instagram Reels has opened up a new world for marketing your company, creating entertaining videos for your audience, or simply sharing content that you like. Since the videos are short, it takes extra effort to capture attention compared to traditional social media posts. Those tools will help you optimize your Reels and make sure they get views.

-

If you need help creating high quality video content, we offer video production services that will help you grow your business!

We look forward to being a part of your success :)

Final Cut Pro X vs Adobe Premiere Pro: Best Video Editing Software

Final Cut Pro X vs Adobe Premiere Pro: Discover which one suits your business the best through this 101 guide of both softwares. 

Introduction

Although both are excellent softwares for any and all of your video editing needs, Final Cut Pro X and Adobe Premiere Pro ultimately come down to two things: Apple vs Adobe. One thing to mention is that Final Cut Pro X is only compatible with Mac OS (sorry Window users!) In layman's terms, if you have a Mac, then congrats, you have full freedom to choose between Final Cut Pro X or Premiere Pro. These two effective, but costly softwares both have their pros and cons, so let’s get straight into it! Hopefully by the end of this article, you will have a better idea of which video editing software works best for your workflow. 

Final Cut Pro X

Apple built Final Cut Pro X (FCP X for short) from the ground up so it shouldn’t come as a surprise that this video editing platform makes better use of integrated OS features and generally seems more “fine-tuned” for Mac users. This does not go to say that using Final Cut Pro X as a Windows user is not possible, but, it is relevant to mention that you might find it more intuitive if you used it on an Apple product. With all this said, let me make it clear that Final Cut Pro X is much more beginner friendly than Adobe Premiere Pro. It displays an extremely intuitive and straightforward interface that provides easy navigation around the platform and the ability to learn at a timely speed, all qualities that are perfect for beginners. All complex editing functions are hidden initially which makes it much more approachable for beginner editors or those new to the software. This simple user interface means they can jump right in and start editing videos quickly. But the features and tools that are initially hidden can be easily opened and used on projects, so the software is no less sophisticated than its competitors. Although FXCP is more than capable of editing projects to almost any level, it is not best-suited for extremely complex video editing works that involve many nonlinear levels of video tracks. FCP X provides the best utilization when working and editing a chronological project. What FCP X lacks in multidimensional video editing, it makes up for in rendering time. Final Cut Pro X is by far much faster than Adobe Premiere when it comes to rendering, specifically on an M1-powered device. However, as much as we would like to love FCP X, let’s learn a little more about Adobe Premiere Pro.


Adobe Premiere Pro

With constant improvements being made to this software, Adobe Premiere Pro is now recognized as a video editing software that is equally suitable to both Apple and Windows computers. Debunking the myth that Adobe Premiere Pro is “better” for Windows users, it is now known that the Premiere Pro interface on either type of computer is nearly identical. Premiere Pro benefits from great workflow flexibility, powerful adjustment layers, a strong emphasis on team projects and raw controls to keep footage looking its best. In addition to all this, the panel-based user interface is useful for an organized workspace and is also fully customizable. Basic editing tools like track selection, trimming, and ripple or rolling edit functions pave the path for Premiere Pro’s more detailed editing functions such as Lumetri Color for color grading. In fact, the software works with a whole host of other Adobe software, too. But don’t get convinced too quickly, keep in mind that Premiere Pro requires four key components: a very fast processor, enough RAM memory, a large amount of fast storage, and an adequate video processor. If you lack these requirements, you may want to reconsider your decision in investing in Premiere Pro. It is worth mentioning that Premier Pro’s huge benefit includes its compatibility with many of Adobe’s other suite titles including Audition for audio editing and Photoshop and Illustrator for working with image titles. Contrary to FCP X, Premiere Pro uses Productions to increase organization and synchronization for multi-project workflows and has the ability to rename files of other media meaning no confusion when it comes to backing up data. So does all this sound like something that fits your requirements? If not, take a look at the table below to see some features of both softwares.


Don’t take my word for it, let’s compare some critical features:

Conclusion

Overall, both tools are absolutely outstanding in their abilities to edit videos; with either option, you can rest easy knowing that you will be creating professional-quality videos that will go a long way toward taking your videos to the next level, whether it be from a personal or business perspective. Unfortunately, if you are a windows user, FCP X is out of the question, however, there are some great video editing alternatives that are also great for beginners found here. If you need further help creating your own videos, we offer video production services that will help you elevate your brand!

At the end of the day, the software you choose to buy comes down to your own personal choice and workflow. So before making your purchase, consider these questions: 

  • Do you own a Mac or Windows computer? 

    • Mac? →  Next question

    • Windows? → Adobe Premiere Pro

  • What’s your skill level? (Beginner, Intermediate, Advanced) 

    • Beginner? → Final Cut Pro X

    • Intermediate? → Final Cut Pro X or Adobe Premiere Pro

    • Advanced? → Adobe Premiere Pro

  • What is the purpose for your video editing? (Personal, Business) 

    • Personal or Business? Up to you!

Written by Rena Wu

Either way, whatever you choose, both Final Cut Pro X and Adobe Premiere Pro can create stunning, professional-level content. So what are you waiting for?

If you’re wanting to learn more about media, music production, and business, we are developing a course called Producer Launch that will take you from beginner, all the way to knowing how to become a successful producer for a living!

Sign up here to be notified when it launches for an exclusive 50% off!

8 Best Video Editing Tips For Beginners

You’ve just finished shooting the perfect movie, vlog, or music video and now it’s time to tackle the next phase of video production; post-production. One problem, you’re an absolute beginner. Well, the good news is you don’t need to know everything there is to know about video editing to produce a high-quality final product. Knowing the most important video editing tips and tricks will help you create a smooth workflow and a fantastic result. Here are 8 of the best video editing tips and tricks for beginner video editors!

1. Choosing the right software

This is the first and often one of the most important steps when starting your video editing journey. There is a plethora of video editing software to choose from so it is not always easy to decide which one suits your editing style and what works best for you.

The Top 3 video editing software on the market right now I would say are Adobe Premiere Pro, Final Cut Pro, and DaVinci Resolve. Even if you are using a Mac, my recommendation for the best video editing software for a beginner is still either Premiere Pro or DaVinci. 

Premiere Pro is pricey but offers some of the most powerful tools available for editors right now. Plus, there is an extensive and long-lasting community surrounding Premiere Pro with endless amounts of resources and tutorials online for any tool or technique to use in the software. With DaVinci, there is a studio-paid version but a comprehensive free version as well. The software can do almost everything Premiere Pro can do and has the best tools for colorists out there right now at the consumer level. So if you want to get started editing for free, DaVinci Resolve is the best choice. 

2. Don’t bloat your edits

If you shoot 5 minutes of footage, your final draft after editing should not be 5 minutes. We live in a busy world and taking on the task of trying to keep an audience’s attention span is a challenging one. The most common mistake amateur filmmakers make in the editing room is that their clips are cut out too long. 

You should only be putting the best of the best of your clips. Aim to look for clips with the best lighting, the cleanest movements, and the best composition to put in your final edit. Be brutal with your own work – a 30-second edit with the best clips will always be more engaging than a 5-minute edit with all of the clips; including the mediocre ones.

3. Cut on action

When cutting between takes, different angles, or even different scenes altogether, try to cut midway through an action rather than when things are not moving. What this does is create a smoother cut as our minds fill in the gaps with any movement on-screen. 

If you cut from a close-up shot of someone to a wider shot of the same person as they move their arms out for a hug, for example, our brain will fill in the gaps we miss from that motion even though we are cutting in between the motion of the arms moving to their new position. This is an important technique to learn quickly as it creates fluid and interesting sequences and it makes your films look more professional. 

4. Use cutaways to great effect

As filmmakers, we try to create stories that are dynamic and interesting to consume. And as an editor, we can accomplish this with a number of techniques. Cutaways are a great way to change the look of a shot that is lingering for too long. It makes your videos feel less static and increases the pace. 

The most common example of a cutaway is when there are spoken dialogue scenes with two or more people. If one person is talking, cutting away to catch the other person's non-verbal response can add an extra layer of depth to the scene. Another common example of this is using B-Roll to add visuals to what is being said like when someone is vlogging to a camera. 

5. Colour Correcting and Colour Grading

Colour correcting is an important process to go through with every sequence you make. The essential goal here with correcting the colours of each clip on the timeline is to gain a basic consistency with each clip. Footage from two different cameras will use two different sensors that capture colour and light differently, so in this scenario, it is especially important that they match each other both when shooting and when in post. Make sure to take the time to balance and match each clip on the timeline. 

The second step to colour correction is colour grading. Colour grading is an artistic process where you shape the current colours of the scene to match a certain “look” or “feel” that matches the tone of the story being told. Colour grading in itself is an in-depth process that serves its own blog post but most editing software come with pre-configured or user shared LUTs (Look Up Tables) that will apply either a good foundation to get you started or even grade the footage entirely with just the click of a button. At the end of the day, grading is a tool editors use for storytelling so use the right grade in the right scenario. 

6. Balance your Audio

You might be thinking, “what does sound have to do with video editing?” and the answer to that would be a lot! Audio is half of the viewing experience actually but in most cases, it is the most neglected part from beginner filmmakers. So before we can balance our audio in post, it is important that we capture good audio in the first place. That means using an external mic when recording important audio and taking the time to sound design.

When balancing our audio, a good rule of thumb is to balance speech first. Spoken audio is typically the most important part of a video's sound and thus takes top priority. If your music is too loud and it makes the dialogue hard to hear, you are doing more harm than good. Adjust the audio of the spoken dialogue so that the levels match closely to one another. Once that is set and locked in, adjust the other audio elements that surround your speech like music or sound effects. Make sure they don't overpower your spoken audio. 

7. Use these important cutting techniques

Two of the most important cuts every editor should know are the J Cut and the L Cut. The J Cut is when the audio from the next clip on the timeline comes in before the video of the previous clip on the timeline ends. J Cuts are fantastic when transitioning from one location to another. If we want to transition from the quiet indoors to a busy sidewalk, using a J Cut to bring in the bustling audio of the sidewalk before you show the sidewalk is a smooth and seamless way to transition. The J Cut gets its name as the cut itself when putting the video and audio elements on top of each other on the timeline is shaped like a “J”.

The L Cut is the opposite of a J Cut. It’s when the video of the next clip on the timeline comes in before the audio of the previous clip on the timeline ends. Like the J Cut, it is a smooth and seamless way to transition between shots. 

Here is a bonus technique – the Match Cut. A Match Cut is a cut between two visually similar shots or scenes. For example, if you end a shot with a close-up of someone’s eyes and start the next shot with a similar frames close-up of another character's eyes (or the same character's eyes at a different time period) that’s a Match Cut. Like the two previous cuts, it adds a smooth element to your sequences while at the same time, it makes things a bit more stylized. 

8. Always put story first

This notion applies to all videos we edit. Remember what your creative goal is for every project. What is the story you are trying to tell? When deciding on a shot to use or where to cut, always ask yourself this question and consider the impact the clip or cut adds to your product. Don’t just add a bunch of visual effects just to impress the viewer. Be purposefully in everything you do in the editing process. This way, your final product will always represent your vision and will always produce a stunning video. 

Conclusion

Keep these 8 video editing tips and tricks in mind when you edit your next project. It will make video editing seem like less of a daunting task. Always remember to put your story first and to use the techniques found here to create smooth and fluid sequences. Remember that audio is half of the viewing experience as well and to be brutal with your edits and show the best of the best takes. Do all this and you’ll be editing like a pro in no time!

Written by Zeeshan Khamis 

-

If you need further help creating your own videos, we offer video production services that will help you elevate your brand!

We look forward to being a part of your success. Contact us here to get started.