The 5 Best Stock Video Sites of 2024

Stock footage comes in handy as it’s a time saving and cost-effective solution for videographers and filmmakers to access footage they would not be able to shoot themselves. But finding the perfect clip can sometimes be a stressful and frustrating process without the right resources on hand. If you are looking for high quality stock video at a variety of budgets, here are 5 of the best stock video websites. 

Pexels

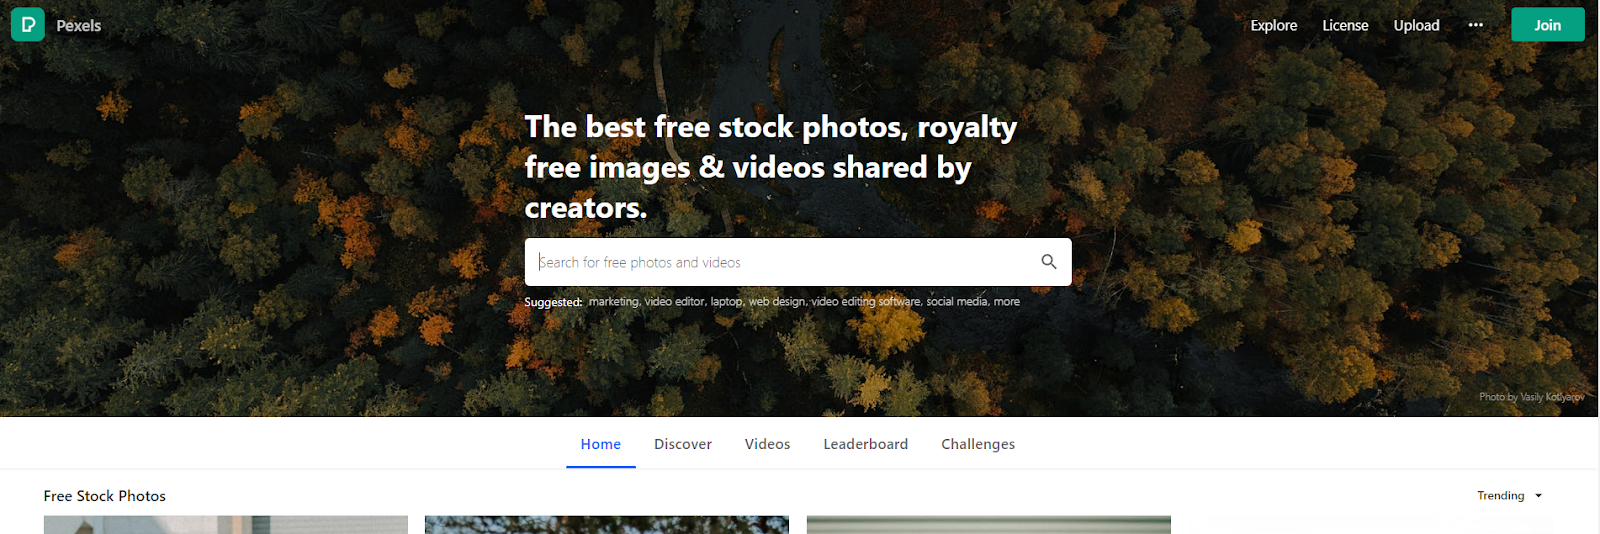
For many, Pexels is the go to site for those looking for truly spectacular free stock videos. 

Every video is all under a Creative Commons 0 license – a license where the original creator has dedicated the work to the public domain! You are free to use footage found on Pexels for personal and commercial use without attribution. 

This is where Pexels shines. Being able to provide high quality stock footage absolutely free that you can use for both commercial and personal use is truly a blessing. But Pexels acts more as a jack of all trades when it comes to it’s selection. Finding the perfect clip to use in your next project isn’t always easy as Pexels lacks curated video collections for specific themes. There may also be cases where the footage you find can be limited to 1080p which can be an issue if 4K and above is what you need. 

Shutterstock

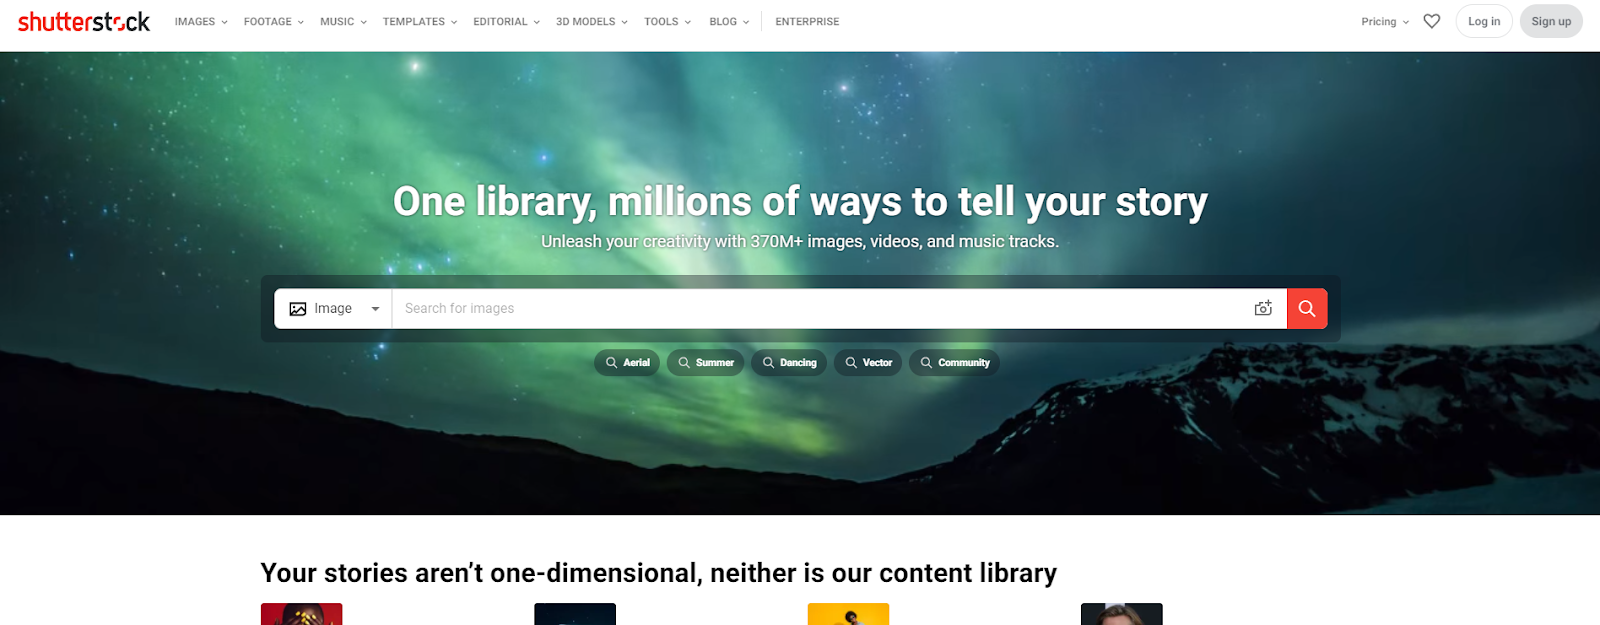
Shutterstock is an absolute titan in the online stock footage scene. 

Of their entire collection of images, videos and music, they advertise over 370 million items to offer. It’s quite literally limitless and Shutterstock also makes it easy for the user to seek out the perfect clips for their next project with important search filters such as maximum resolution, frames-per-second, and if the footage contains people in it. They also provide regularly updated corrected collections that are relevant and trending that offer high quality footage in a certain niche or theme. 

But such a collection doesn’t come without a price. Shutterstock offers 3 subscription plans that offer limited downloads per month as well as clip packs that expire after 12 months that offer you a way to pay for a set amount of videos you may redeem at a later date. All of these options are pretty expensive and somewhat convoluted but offer a standard license that covers web usage and live performance. For a larger budget, Shutterstock is a great choice for videographers. 

Storyblocks

Storyblocks specializes in video and audio at an affordable price for videographers. 

Like other stock footage providers, Storyblocks offers a large selection of stock footage available to use for subscribing members. They offer curated collections and easy to use search filters to narrow down the perfect clip. But unlike their competitors, story blocks also offer a wide selection of motion graphics templates to use. What is also new to offer is Maker – an online based video editor that is integrated with their library. 

Storyblocks aims to be a one-stop shop for videographers and their pricing reflects that. They offer their unlimited download plan for individuals at $39.99 a month which comes with 4K & HD footage, Motion Graphics Templates, as well as Music and Sound Effects. The footage you use as well is 100% royalty free and yours to keep forever under their individual license as well. 

Artgrid

Artgrid aims to be the stock footage site for filmmakers.

Artgrid selection differs quite a bit from other offerings. Each clip has a cinematic quality to it that makes it perfect for filmmakers looking to tell emotional and powerful stories. On Artgrid you can search by video theme that offers a similar experience to curated collections but also by shot type. Search by shot type allows for you to narrow down clips by their framing, what type of camera movement is done, the time of day and location, and speed of the clip. These search filters are a game changer for filmmakers. 

Artgrid’s pricing is similar to Storyblocks’ as they offer both an unlimited plan and a limited plan for affordable prices. Artgrid takes it one step further by offering a Professional plan where you can download footage that is in RAW/LOG format which makes all the footage on offer incredibly versatile. All plans include lifetime use and all plans also include a 14 day money back guarantee. 

Envato Elements

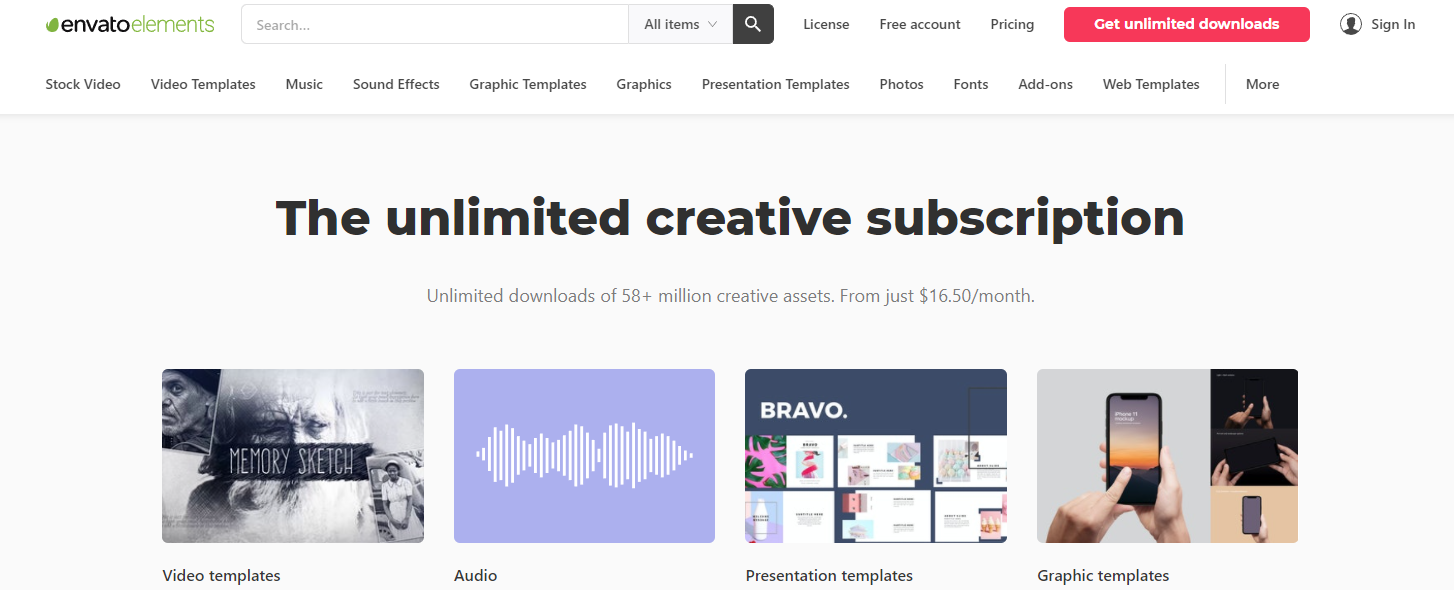
Envato Elements aims to offer unlimited access to stock video and audio at a very cheap price.

With a $16.50/m individual subscription, you get access to Stock Footage, Motion Graphics Templates, Music and Sound Effects, Print and Product Mockups, Powerpoint Templates, Photos, and even Fonts. Envato Elements is really trying to be the go-to place for creatives to flock towards and with an incredibly affordable subscription plan, it’s hard to say they haven’t done that.

Envato Elements offers simple licensing terms for all their products. Each item you download is registered for one specific use but you can download it again to register a different use. Each item has broad commercial rights so you can use their offerings with confidence in your project. And each time is covered even if you choose to unsubscribe from their services later.   

Conclusion 

All of these websites have a fantastic selection of stock video to offer that is licensed or royalty-free and safe to use both commercially and for personal use. They all tailor for a specific kind of videographer or filmmaker so choose the right site for you! Also, if you need help editing/color grading your videos, we would be happy to help. Contact us here to learn more about our video production services.

Written by Zeeshan Khamis

-

If you’re a filmmaker wanting to learn more about improving your audio, sound design, and business, we are developing a course called Producer Launch that will take you from beginner, all the way to knowing how to become a successful producer for a living!

Sign up here to be notified when it launches for an exclusive 50% off! 

8 Best VST Drum Plugins

Recording guitars, bass guitars, or vocals in a home studio is easy. But if you want to record drums, you may come across several issues.

A real drum kit requires space, good acoustic treatment, and your room might not be suitable for that. Also, you might even don’t know how to play drums.

That’s why the VST drum plugins are a great solution for drum recording in home studios. Virtual drums give you the ability to record any drum part with a MIDI controller. Also, they come with many pre-recorded parts you can use.

In this post, we will show you the best VST drum plugins that are great for recording.

Acoustic Drums

Acoustic drum plugins allow you to create realistic drum patterns. These VSTs have built-in mixers, grooves, and mixing tools. 


GetGood Drums

Price: $99

GetGood Drums modern and Massive pack is a great-sounding VST drums plugin. It has very realistic sound and features. It’s very easy to use, you can add effects, EQ, and make it mix-ready.

The plugin is great for a variety of music genres such as pop, rock, and even heavier music. Works with Kontakt Player.

Features:

  • Built-in Groove Player

  • Intuitive interface

  • Built-in reverb

  • Multiple snares, kick, and toms options


EZdrummer 2

Price: $170.52

EZdrummer is a very popular and favorite drums plugins for many home recording engineers. The reason is that it sounds great and offers many features. You can choose different kits, which has a built-in mixer, and hundred of grooves.

Works as a standalone and as a VST plugin. You can easily create drum patterns and insert them in your DAW.

Features:

  • Built-in mixer

  • High-quality grooves

  • Multiple drum options

  • Song creator feature


Addictive Drums 2

Price: $869

Addictive Drums 2 by XLN Audio is an old plugin that works perfectly today. You can choose different kits, individual instruments, shape the sound, etc. The sound of the plugin is realistic and organic.

Includes built-in mixer, EQ, compressor, and other tools to make the custom sound. You have the option to buy separate drum packs such as pop, rock, and more.

Features:

  • Realistic sound

  • Built-in mixing tools

  • Multiple drum kits


MT Power Drumkit 2

Price: Free

MT Power Drumkit 2 is a totally free plugin that offers really high-quality sound. It has a full drum kit with features such as a mixer and grooves. Works with every modern DAW and MIDI keyboard.

The mixer allows you to channel every track separately, control panning, and add compression. The sound is very realistic.

Features:

  • Built-in mixer

  • High-quality grooves

  • Multi-channeling option

Electronic Drums

Electronic drum VST plugins are great if you create EDM music. You can choose different kits, sounds, and shape them to your liking.


Battery 4

Price: $199

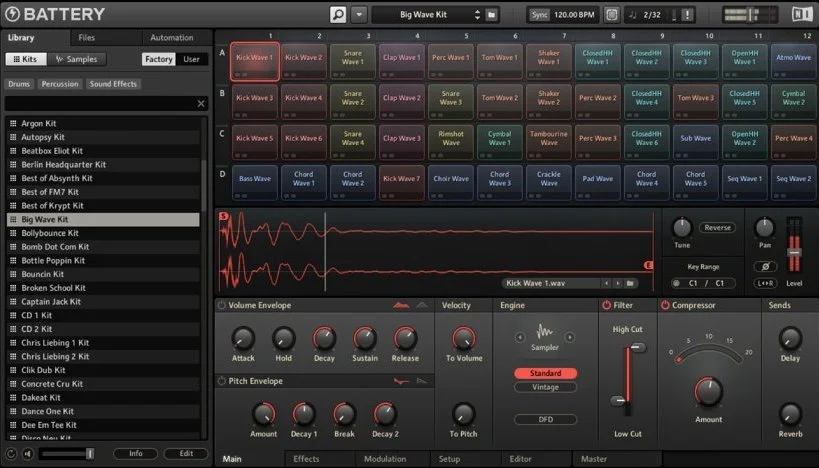
Battery 4 is the most popular and powerful drum sampler. Its main use is for electronic drums but can be used for acoustic drums too. The drum collection is massive and also editing is very granular.

You can use it as a standalone app or as a VST plugin in any modern digital audio workstation.

Features:

  • Massive drum kits collection

  • High-quality sound

  • Many built-in tools


StudioLinked Drum Pro

Price: Free

Drum Pro offers high-quality drum samples for free. This is a great plugin if you create and record EDM music. Also, many hip-hop or trap musicians use Drum Pro.

Has twelve programmable pads and you can control volume and pan for each pad. Also, has a built-in compressor and reverb.

Features:

  • Built-in mixer

  • Programmable pads

  • Compression and reverb


Trax Drum Machine

Price: $50

Trax Drum Machine is another great drum plugin for hip hop and electronic music. Has a very modern interface and it’s easy to use. Comes with 50 drum kits with a variety of individual instruments.

Another great feature of Trax is FX, pitch, reverb, and more. You can create 4 layers of effects which makes the sound more comprehensive. It’s an 8-channel drum machine.

Features:

  • 400+ drum samples

  • 16 stereo output

  • FX layering

  • Very lightweight plugin


Afroplug

Price: Free

Afroplug is a drum VST plugin for Mac and Windows. This particular plugin is great for RnB, Reggae, and Lo-fi music. Comes with over 100 sounds and 10 presets. Works with all modern digital audio workstations.

The interface of Afroplug is very modern and easy to navigate. Offers features such as mixer, compression, reverb, saturation, and much more.

Features:

  • Built-in filters

  • Reverb and saturation

  • ADSR option

Conclusion

VST drum plugins are very easy to use and effective for home recording. They offer great sound, built-in features, and its quick to create drum patterns. These plugins are perfect for demo songs but can be used for professional recording. If you want to make your drum recording process faster and hassle-free, it’s time to use virtual drums.

Free plugins are great for beginners and if you want to get used to them. After you master it you can upgrade to premium ones.

-

If you’re wanting to learn more about drums, music production, and business, we are developing a course called Producer Launch that will take you from beginner, all the way to knowing how to become a successful producer for a living!

Sign up here to be notified when it launches for an exclusive 50% off!


8 Best Video Editing Tips For Beginners

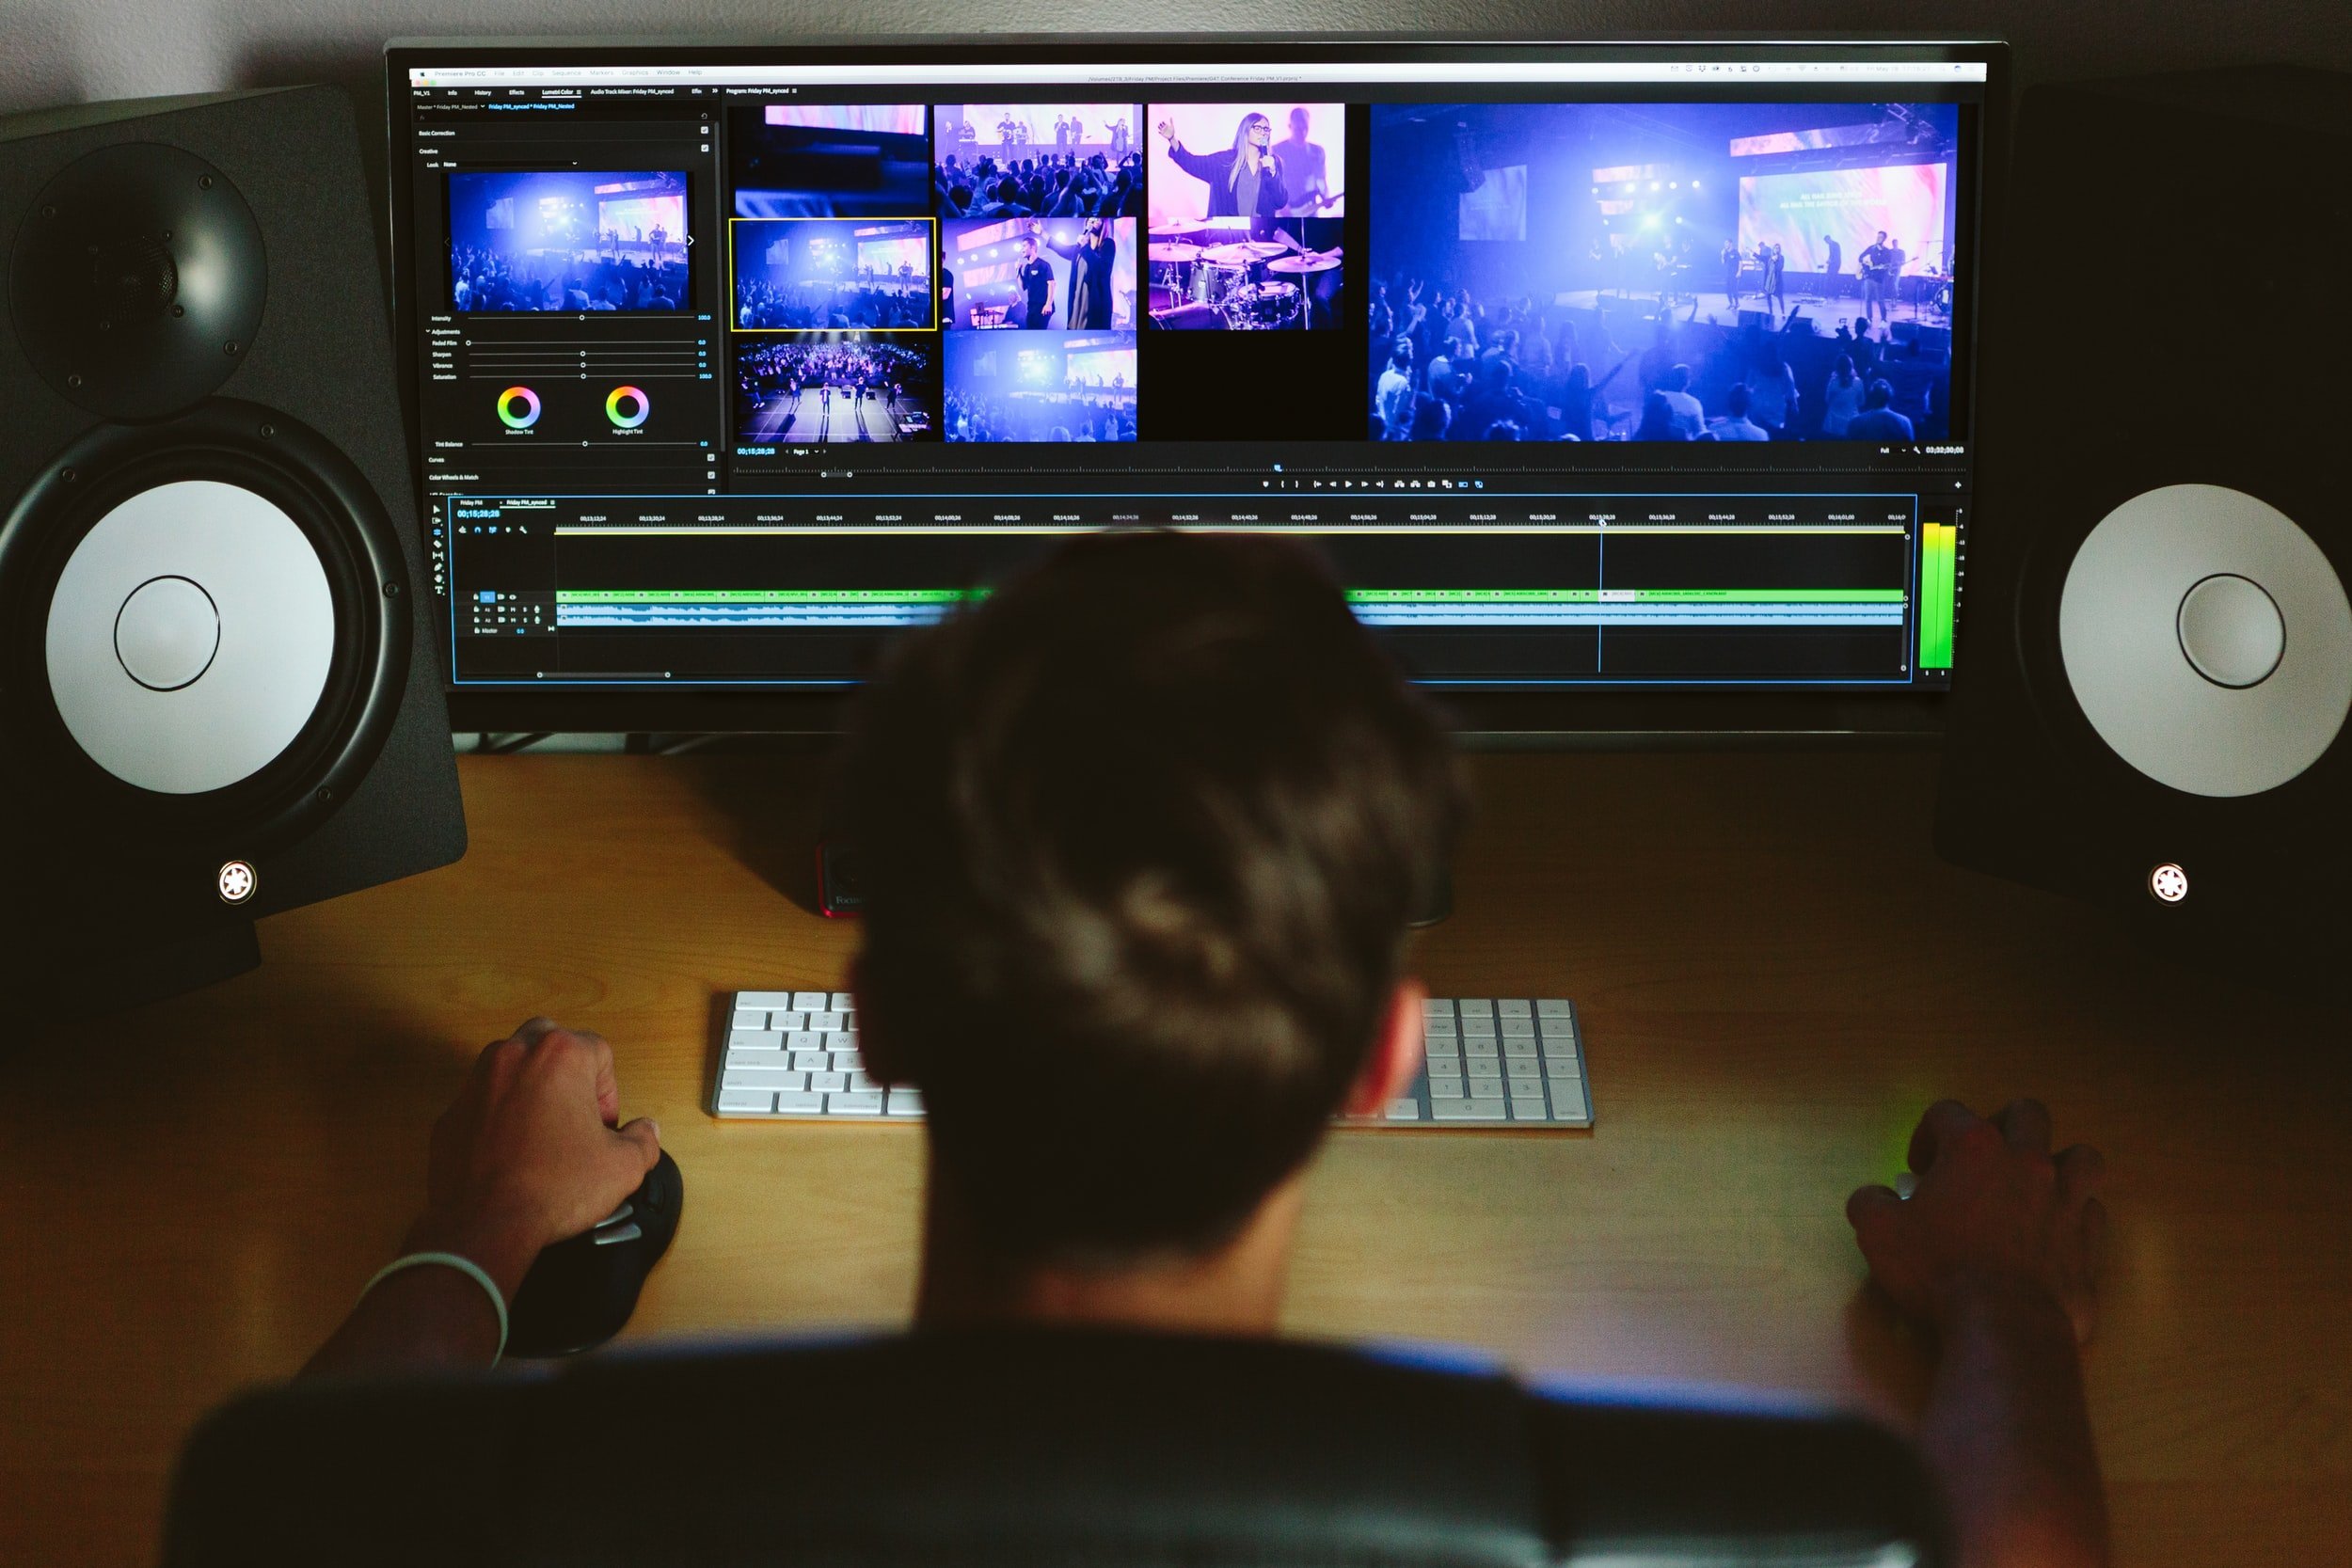
You’ve just finished shooting the perfect movie, vlog, or music video and now it’s time to tackle the next phase of video production; post-production. One problem, you’re an absolute beginner. Well, the good news is you don’t need to know everything there is to know about video editing to produce a high-quality final product. Knowing the most important video editing tips and tricks will help you create a smooth workflow and a fantastic result. Here are 8 of the best video editing tips and tricks for beginner video editors!

1. Choosing the right software

This is the first and often one of the most important steps when starting your video editing journey. There is a plethora of video editing software to choose from so it is not always easy to decide which one suits your editing style and what works best for you.

The Top 3 video editing software on the market right now I would say are Adobe Premiere Pro, Final Cut Pro, and DaVinci Resolve. Even if you are using a Mac, my recommendation for the best video editing software for a beginner is still either Premiere Pro or DaVinci. 

Premiere Pro is pricey but offers some of the most powerful tools available for editors right now. Plus, there is an extensive and long-lasting community surrounding Premiere Pro with endless amounts of resources and tutorials online for any tool or technique to use in the software. With DaVinci, there is a studio-paid version but a comprehensive free version as well. The software can do almost everything Premiere Pro can do and has the best tools for colorists out there right now at the consumer level. So if you want to get started editing for free, DaVinci Resolve is the best choice. 

2. Don’t bloat your edits

If you shoot 5 minutes of footage, your final draft after editing should not be 5 minutes. We live in a busy world and taking on the task of trying to keep an audience’s attention span is a challenging one. The most common mistake amateur filmmakers make in the editing room is that their clips are cut out too long. 

You should only be putting the best of the best of your clips. Aim to look for clips with the best lighting, the cleanest movements, and the best composition to put in your final edit. Be brutal with your own work – a 30-second edit with the best clips will always be more engaging than a 5-minute edit with all of the clips; including the mediocre ones.

3. Cut on action

When cutting between takes, different angles, or even different scenes altogether, try to cut midway through an action rather than when things are not moving. What this does is create a smoother cut as our minds fill in the gaps with any movement on-screen. 

If you cut from a close-up shot of someone to a wider shot of the same person as they move their arms out for a hug, for example, our brain will fill in the gaps we miss from that motion even though we are cutting in between the motion of the arms moving to their new position. This is an important technique to learn quickly as it creates fluid and interesting sequences and it makes your films look more professional. 

4. Use cutaways to great effect

As filmmakers, we try to create stories that are dynamic and interesting to consume. And as an editor, we can accomplish this with a number of techniques. Cutaways are a great way to change the look of a shot that is lingering for too long. It makes your videos feel less static and increases the pace. 

The most common example of a cutaway is when there are spoken dialogue scenes with two or more people. If one person is talking, cutting away to catch the other person's non-verbal response can add an extra layer of depth to the scene. Another common example of this is using B-Roll to add visuals to what is being said like when someone is vlogging to a camera. 

5. Colour Correcting and Colour Grading

Colour correcting is an important process to go through with every sequence you make. The essential goal here with correcting the colours of each clip on the timeline is to gain a basic consistency with each clip. Footage from two different cameras will use two different sensors that capture colour and light differently, so in this scenario, it is especially important that they match each other both when shooting and when in post. Make sure to take the time to balance and match each clip on the timeline. 

The second step to colour correction is colour grading. Colour grading is an artistic process where you shape the current colours of the scene to match a certain “look” or “feel” that matches the tone of the story being told. Colour grading in itself is an in-depth process that serves its own blog post but most editing software come with pre-configured or user shared LUTs (Look Up Tables) that will apply either a good foundation to get you started or even grade the footage entirely with just the click of a button. At the end of the day, grading is a tool editors use for storytelling so use the right grade in the right scenario. 

6. Balance your Audio

You might be thinking, “what does sound have to do with video editing?” and the answer to that would be a lot! Audio is half of the viewing experience actually but in most cases, it is the most neglected part from beginner filmmakers. So before we can balance our audio in post, it is important that we capture good audio in the first place. That means using an external mic when recording important audio and taking the time to sound design.

When balancing our audio, a good rule of thumb is to balance speech first. Spoken audio is typically the most important part of a video's sound and thus takes top priority. If your music is too loud and it makes the dialogue hard to hear, you are doing more harm than good. Adjust the audio of the spoken dialogue so that the levels match closely to one another. Once that is set and locked in, adjust the other audio elements that surround your speech like music or sound effects. Make sure they don't overpower your spoken audio. 

7. Use these important cutting techniques

Two of the most important cuts every editor should know are the J Cut and the L Cut. The J Cut is when the audio from the next clip on the timeline comes in before the video of the previous clip on the timeline ends. J Cuts are fantastic when transitioning from one location to another. If we want to transition from the quiet indoors to a busy sidewalk, using a J Cut to bring in the bustling audio of the sidewalk before you show the sidewalk is a smooth and seamless way to transition. The J Cut gets its name as the cut itself when putting the video and audio elements on top of each other on the timeline is shaped like a “J”.

The L Cut is the opposite of a J Cut. It’s when the video of the next clip on the timeline comes in before the audio of the previous clip on the timeline ends. Like the J Cut, it is a smooth and seamless way to transition between shots. 

Here is a bonus technique – the Match Cut. A Match Cut is a cut between two visually similar shots or scenes. For example, if you end a shot with a close-up of someone’s eyes and start the next shot with a similar frames close-up of another character's eyes (or the same character's eyes at a different time period) that’s a Match Cut. Like the two previous cuts, it adds a smooth element to your sequences while at the same time, it makes things a bit more stylized. 

8. Always put story first

This notion applies to all videos we edit. Remember what your creative goal is for every project. What is the story you are trying to tell? When deciding on a shot to use or where to cut, always ask yourself this question and consider the impact the clip or cut adds to your product. Don’t just add a bunch of visual effects just to impress the viewer. Be purposefully in everything you do in the editing process. This way, your final product will always represent your vision and will always produce a stunning video. 

Conclusion

Keep these 8 video editing tips and tricks in mind when you edit your next project. It will make video editing seem like less of a daunting task. Always remember to put your story first and to use the techniques found here to create smooth and fluid sequences. Remember that audio is half of the viewing experience as well and to be brutal with your edits and show the best of the best takes. Do all this and you’ll be editing like a pro in no time!

Written by Zeeshan Khamis 

-

If you need further help creating your own videos, we offer video production services that will help you elevate your brand!

We look forward to being a part of your success. Contact us here to get started.