8 Beginner Tips for Making Professional Looking Videos

unsplash-image-ieinhZHP3Do.jpg

Most, if not all consumable content is through - you guessed it - video

It’s the easiest and more preferred form of content people bother to pay any attention to nowadays due to the simple fact that not everyone wants to read a bunch of words but rather watch and listen to whatever it is you have to say about anything. 

So how do you go about creating a well-thought-out professional-looking video? Follow these 8 easy tips for beginners to start:


1. Plan it out

unsplash-image-v9FQR4tbIq8.jpg

Regardless of the quality of your video, it’s the content that truly matters. So think:

  • What are your goals? Do you want to raise engagement? Gain more followers? Make them laugh?

  • Who is your audience? Children? Adults? Youth? People who like shoes? It could be anyone and anything so long as you know who you’re targeting.

  • What do you want to make them feel? Joy? Laughter? Happiness? Sadness?

  • Most importantly: what’s the message?

Ask yourself a few of those questions and write them down on a piece of paper so that you’ll remember what it is that you’re trying to achieve.


2. Background - Real vs. Fake

unsplash-image-whDe_UdHzo8.jpg

No one’s to say one’s better than the other, they’re just useful in different ways - depending on what it is that you want to achieve in your video’s overall look and get the message you want to be delivered. 

Real Backgrounds, where you’re physically in the actual location. Whether it’s an office setting, the woods or a mall. Remember framing matters, and to make sure that there’s nothing that shouldn’t be in the video showing. 

Fake Backgrounds typically consist of what you put over a green screen or curtain to give the illusion of reality. However, these can be tricky to set up and actually learn the technology for it, especially for beginners but who’s to say you can’t do it?

Regardless of which one you decide to use, make sure the colours match well with the foreground. 

3. Use Natural Lighting

unsplash-image-_YjJbgmd8K0.jpg

Lighting is one of the most important aspects of filming a video and as a beginner, you won’t necessarily have the equipment for it but fear not - natural lighting is free and is actually one of the best types of lighting.

Here are some ways you can use natural lighting to get the best results:

  • Outdoors on a cloudy day

  • Golden hour

  • A room with large/multiple windows

  • Other light sources (lamps, ceiling lights)

Regardless of the weather or time, shooting with natural lighting will get your video looking like it was made by a professional.


4. Learn Composition

unsplash-image-e1-Lt5NhstE.jpg

Composition rules in photography are just as important when it comes to videography as it helps you frame the subject in an effective and appealing way.

One of the easiest and most promising ways is the rule of thirds. You divide your frame into a three-by-three grid and where the lines intersect is where you would place your subject as the audience’s eyes are naturally drawn to it. 

Basically, don’t place your subject in the middle and make sure everything that’s supposed to be in the frame is in it!


5. No Need For Expensive Equipment

unsplash-image-Rp2cLR6b6Ds.jpg

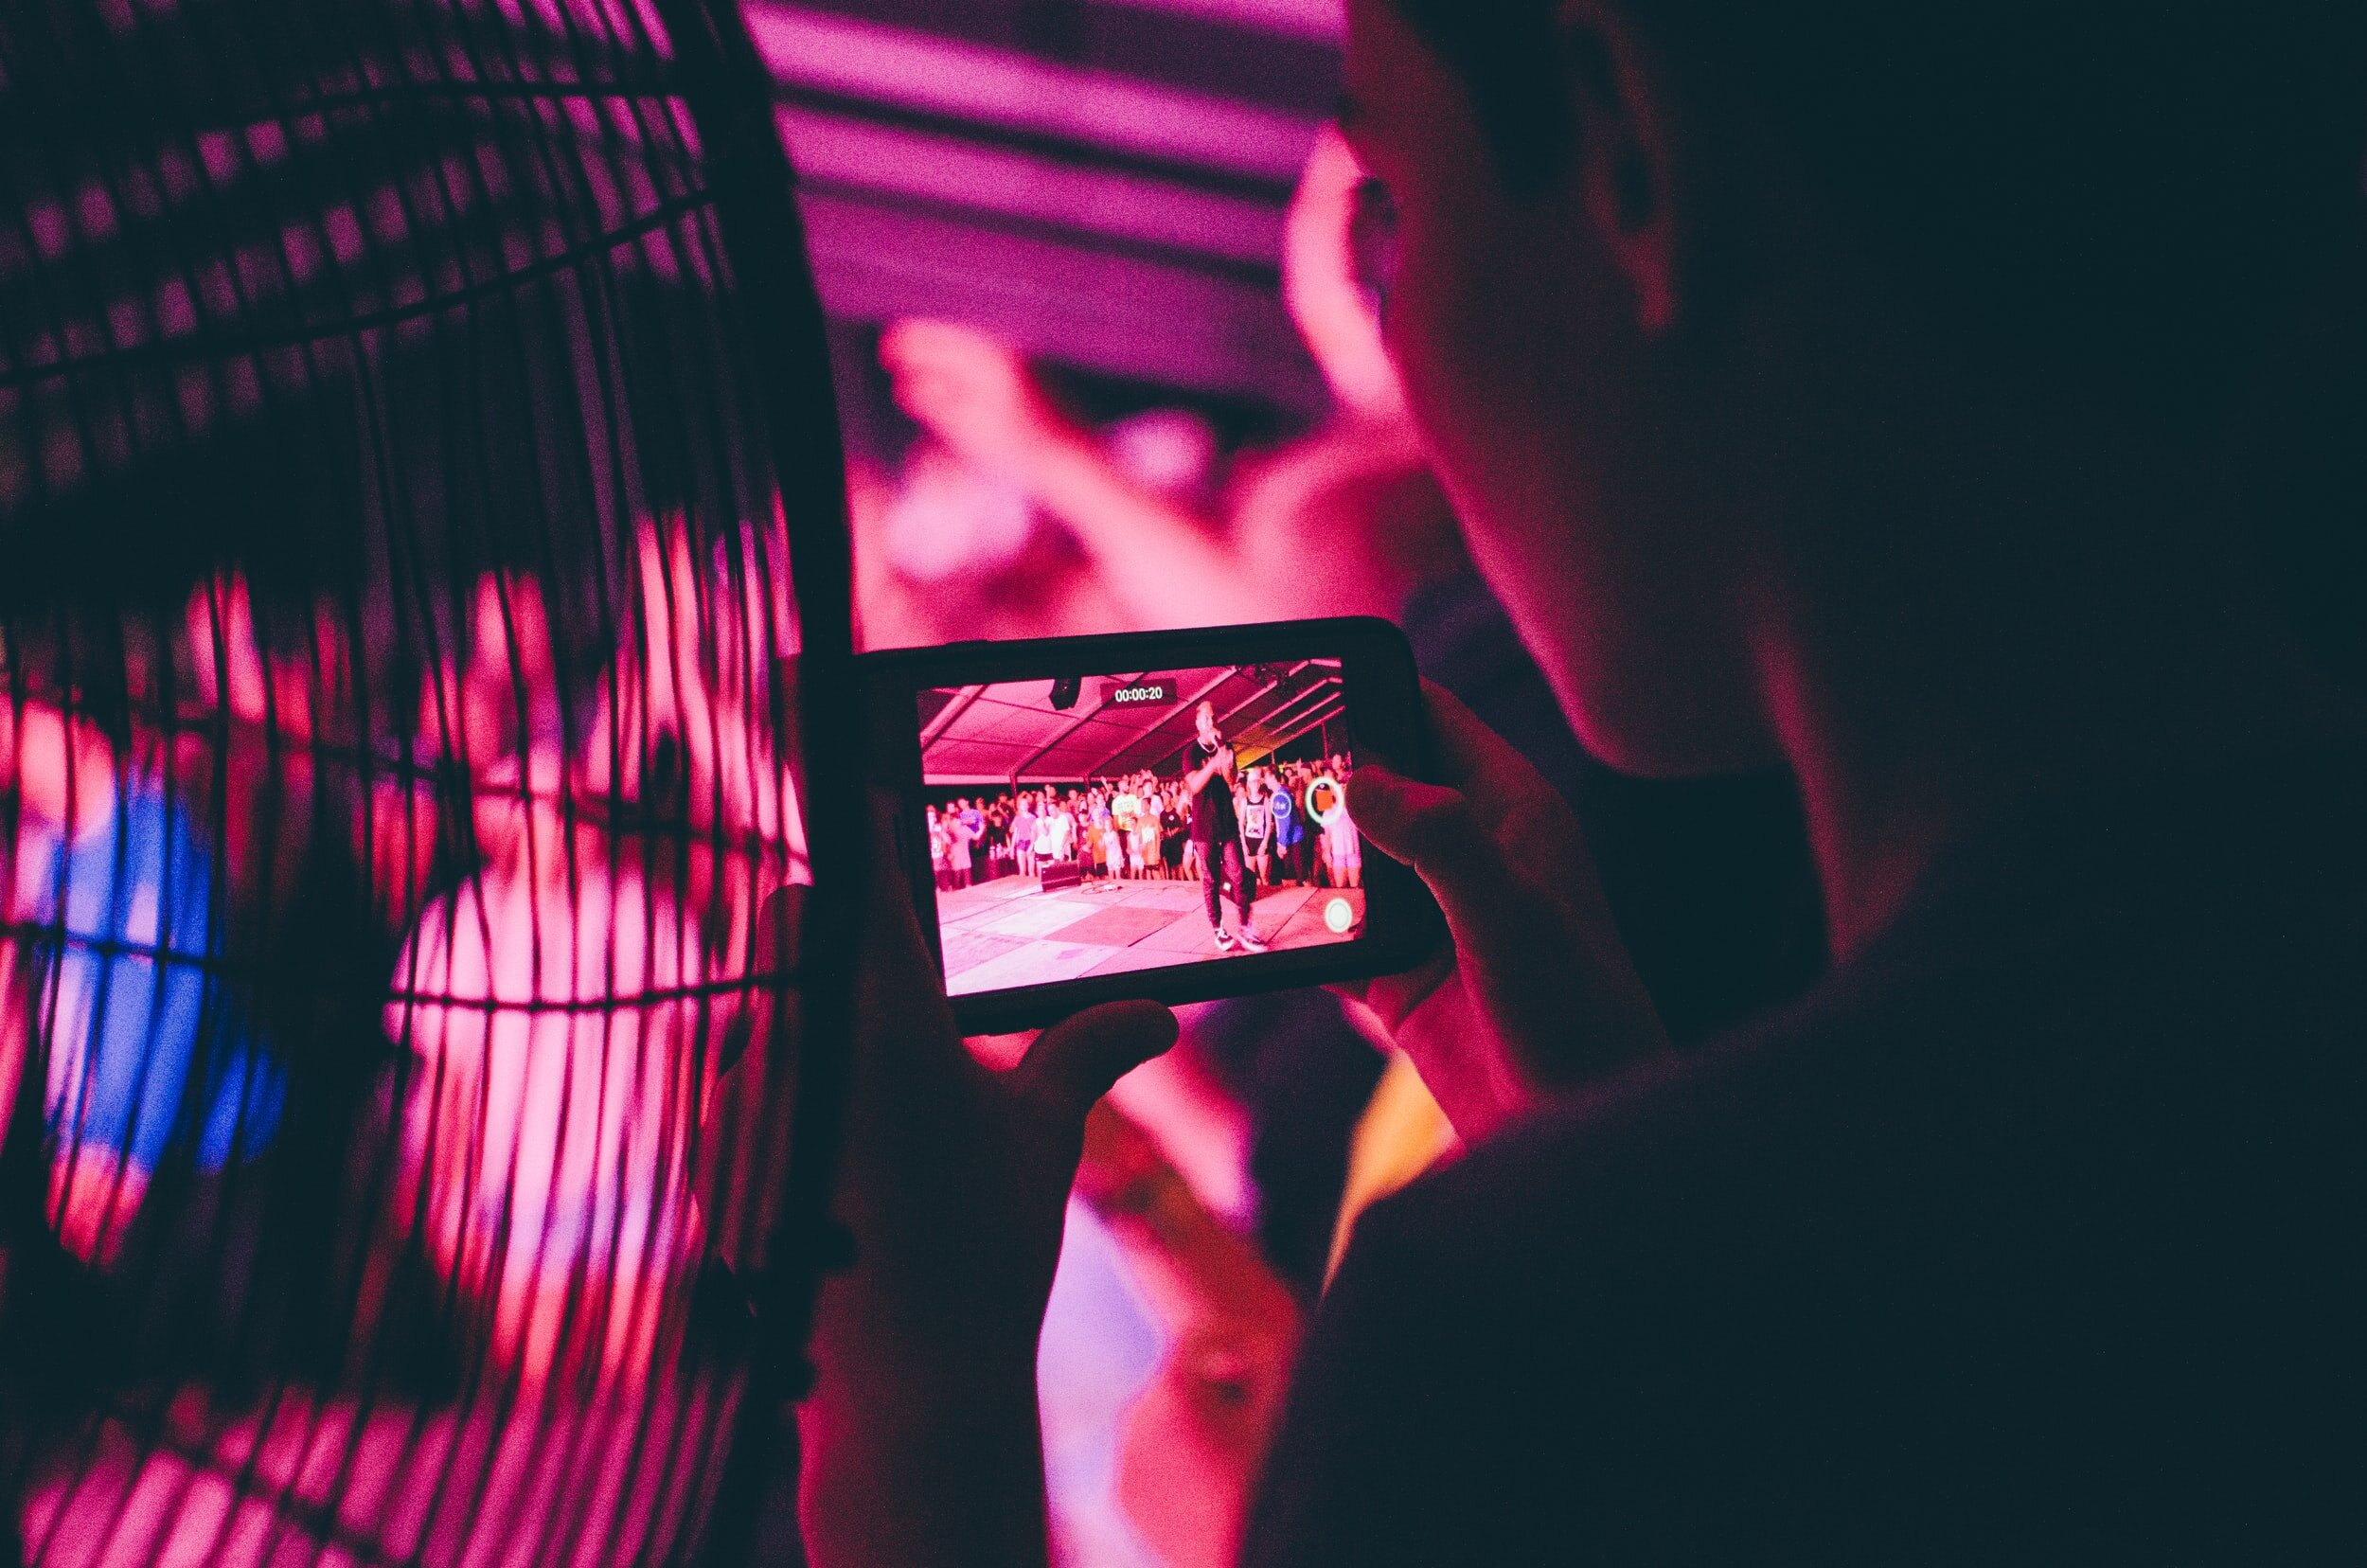
Not everyone has the budget to buy an expensive, top-of-the-line camera to film a quick video to promote their brand, and with technology nowadays you can easily film something in high quality with your everyday device: your phone. 

6. Don’t Use Your Camera Microphone

unsplash-image-UUPpu2sYV6E.jpg

While the quality of the camera doesn’t need to be superb, the sound quality definitely does (no one’s really going to listen to a video where they can’t hear anything properly). 

The best way to get clear and crisp audio is through an external microphone.

7. Film In Segments

unsplash-image-Hn3S90f6aak.jpg

Now that it’s finally time for you to start filming, start by doing them in short intervals. This will save you time and energy when it comes to going through your footage, choosing whether or not to reshoot and editing it.


8. Promote Your Video

unsplash-image-FPt10LXK0cg.jpg

And finally, all that’s left to do is to get your video out there. You can easily promote it on Facebook, YouTube, or even Instagram as an ad, attract an audience, increase engagement, and gain a following. This way, your brand becomes more well-known.

If you’re looking to sell videos, it’s best to create your own website and launch an OTT (over-the-top) app, similar to Netflix where people pay and subscribe to view your video content.

Conclusion

The possibilities for creating videos are endless and are super easy to get started. You simply start by planning it out, choose what your background is, and remember to use natural lighting, and composition rules. Keep in mind that there’s no need for expensive equipment, but do look into purchasing an external microphone. And to make things easier, film your video in short segments and finally, share your work with others! Follow these steps to create professional-looking videos even though you’re a beginner. Let us know if you’re a beginner and started creating your videos! What did you make? What tips did you follow? We’d love to hear from you!

Written by Tina Phong

If you need further help creating your own marketing videos, we offer video production services that will help you elevate your brand!

We look forward to being a part of your success. Contact us here to get started.

How to Create and Self-Publish Your Audiobook

pexels-stas-knop-5939401.jpg

If you’re an author looking to expand your market, publishing audiobooks might be right for you. You already have the written material, so converting it to an audio format is the easy part. 

If you’re unsure how to start creating and selling your audiobook, keep reading, I’ll be breaking it down below

Why You Should Sell Your Audiobooks

The global audiobook market is valued at around 3 billion dollars and is constantly expanding. Audiobooks are considered the fastest-growing segment in publishing and they generate more income than ebooks. They offer authors another way to make money from their books. 


Is self-publishing right for you?

Self-publishing is not for everyone so it’s important to know if it’s right for you and your audiobook. 


You can learn more about self-publishing vs. traditional publishing in this article from Jony Studios.


Here are some traits that will help you be successful with self-publishing

  • Your audiobook delivers content the audience wants to hear

  • You have an understanding of your audience, budget, and marketing

  • You are willing to put in the work to get your book published. 


Different genres of audiobooks do better than others. For example, mystery, thriller, and suspense audiobooks have the biggest audience, while sci-fi and fantasy have more engagement than any other genre. There is a clear market for shorter audiobooks, and non-fiction authors tend to have more success with online marketing than fiction authors do. 

Many factors could make your audiobook successful, so it is easy for anyone to publish an audiobook in any genre.

Self-publishing can also be costly depending on how you decide to record your audiobook. Narrating, editing, and publishing your audiobook can cost anywhere between $150.00 - $700.00 to purchase the equipment and it will require a laptop/computer that can handle recording software.

pexels-karolina-grabowska-4476366.jpg

Here is a list of the basic equipment you’ll need to record your audiobook from home:

If you decide to work with a narrator and audio production company, it can cost $3000.00-$6000.00 for an average length audiobook which is about 10 hours. Renting a studio can cost $50 - $200 an hour and narrators can cost $100.00-$400.00 per finished hour. 

The most expensive but easiest option is to hire a production agency as they handle recording, editing, and narration for you. 

-

Another option which is becoming very popular is to record your own audiobook at home using your voice but hire a professional recording studio to handle the editing, mixing, mastering for Audible standards, and walk you through the entire upload process, which will save you a lot of time, money, and hassle.

Learn more about our remote audiobook production services here and request a free estimate!


Creating your Audiobook

The first step in creating an audiobook is to write a script. Scripts are important because they will ensure the content you are recording will be comprehensible in an audio format. 

If you are recording an online article, make sure you leave the following out of your script.

  • Hyperlinks

  • Captions and footnotes as they can be written into the spoken text

  • Visuals

  • Call to action or ‘click here’ buttons

If you are hiring a narrator, do research and hold auditions to make sure you are finding one that suits your audiobook. 

You can find narrators using freelance websites like Fiverr.

 
fiverr.jpg
 

If you decide to narrate the audiobook yourself, there are some things to consider.

  1. Do you have an engaging voice?

  2. Do you have voiceover skills to effectively tell your story?

  3. If you listen back to the audio you have narrated, are you distracted by the way your voice sounds?


Keep in mind that a bad narration is a turn-off for many listeners. 


When you are recording at home make sure you do the following


  • Turn off all equipment that makes noise. A mic will pick up any small sounds that a person might not think of

  • Record in a carpeted room to avoid reverb and reflections

  • Don't move while you’re recording

  • Keep your voice at a consistent volume and don't hold your breath

  • Read from an electronic device so the sound of turning pages is not picked up.

  • Schedule multiple recording sessions and re-record if necessary.


When you edit your audiobook, eliminate any mouth sounds, harsh ‘s’ sounds and make each chapter its own file, if you need help with this we have you covered with our remote audiobook editing services.


The final package should include a sample audio track, engaging book description, and cover art/image. 


Audiobook Platforms

There are multiple different platforms you can choose to put your audiobook on. You can stick to one or upload it to a couple of different ones. 


ACX

ACX is owned by Amazon and is a full-service audiobook/distribution arm. Through ACX you can distribute to Amazon, iTunes, and Audible. 

 
acx_logo_3C_notag2 copy.png
 

There are a couple of different options if you chose to work with ACX.

  1. Exclusive with ACX. You receive 40% of the royalties. If you worked with a narrator and don’t pay them upfront, they receive half of the royalties. This is a seven-year contract

  2. Non-exclusive with ACX. You receive 25% of the royalties. You are unable to split the royalties with a narrator in a non-exclusive deal so they need to be paid upfront. This option allows you to work with other distribution platforms. 

If you choose to publish with ACX you will not have control over the price of your audiobook. Click here to view the pricing guidelines from ACX.

Findaway Voices

Findaway Voices allows you to choose where you sell your audiobooks as well as how you price them. They have a distribution market that reaches over 170 countries and they work with library, retail, and school markets. 

 
logo-light-backgrounds.png
 

To learn more about ACX and Findaway voices, click here.


Soundwise

Soundwise allows authors to easily build an audience, Pro and Platinum plans that offer 100% of profits, and a place for listeners to leave comments. It is very easy to use and Authors have full control over their pricing strategy. 

 
logo.png


Click here to learn more about Soundwise.


Marketing Your Audiobook

As a self-published author, you will have full control over your marketing strategies. This can seem like a lot, especially if you have no idea how to go about marketing your audiobooks.

Here are some marketing tips to help you when you first get started

  • Pitch your audiobooks to booktubers, blogs, and book-related podcasts

  • Be active on social media and audiobook related Facebook groups

  • Submit for awards

  • Share your audiobooks with journalists

Check out this video for some more tips on how to market your audiobook. 

Written By: Leah Gerber

Conclusion: Making your audiobook successful

You are now equipped to self-publish your own successful audiobook! 

Before you get started, here are some important things the remember:

  • Self-publish if it’s right for you

  • Create content that listeners want

  • Choose platforms that will work for your needs

  • Engage with your listeners through social media

Have you ever self-published an audiobook before? What was your experience like? Which platform did you find most helpful? Let us know in the comments below.

-

If you need help turning your book into an audiobook, we offer remote audiobook production and editing services that will help you reach a wider audience and increase your book sales. 

Listen to some of our audiobook samples here to get started.

The Best Proofreading & Editing Software In 2021

unsplash-image-FHnnjk1Yj7Y.jpg

Let’s begin by answering: what is proofreading software? Simple: editing software that uses artificial intelligence (AI) to proofread your work. 

AI is a computer programmed to behave and think as humans do and while it is at the top of its game, there is still much more work that needs to be done to get it to where the programmers want. If you’d like to learn a lot more about AI, check out this in-depth article here.

While you have your basic spell-checker on Microsoft Word, it doesn’t even come close to what editing software can do for you. It looks over not only typos but grammar and style checks as well! And there is free software out there available to use.

Before we dive right into the rankings, we should look at what types of proofreading software there is out there.


DIFFERENT TYPES OF PROOFREADING APPS

1. Chrome Extensions

unsplash-image-eMemmpUojlw.jpg

Just as you would with any other web browser, you can download free extensions that will check your spelling as you type on any site and possibly offer suggestions towards spelling, grammar and style of your works.

2. Online Tools

unsplash-image-SYTO3xs06fU.jpg

The internet is a vast space of unlimited resources and tools and you can easily find it for free at a website that’ll proofread your work (spelling, grammar and style) by copying and pasting it into a text box. Keep in mind though, you get what you pay for.

On the other hand, you can get full-service online apps, like Grammarly (spoiler alert! We will be talking about this app later on, so stay tuned), though limited in its formatting tools, nonetheless is still significantly better than using just a spell-checker and can drastically improve your written work.

3. Mobile & Desktop Apps

unsplash-image-Z3vq1JvQZ-Y.jpg

There’s always an app for something out there, so no doubt there is one made for proofreading outside of your typical spellcheck on your mobile or computer. Especially if you’re typing away on your mobile device, you’ll want one.

4. MS Add-Ons

unsplash-image-r5Zjdi5x9Bo.jpg

For those who use MS Office products (Word, Powerpoint etc.) you can get an add-on that will proofread your work as you continue to make progress on it. But keep in mind, these only work for those on Windows computers.

Now let’s get to the nitty gritty of what’s out there and which one has the best features and performance.


RANKINGS & REVIEW

1. Grammarly

grammarly-logo.png

Grammarly is easily one of the best proofreading software to exist out there, and guess what? It’s free. Sure there are paid plans for their services, but the free version is still pretty substantial in terms of what it is able to do. Not only does it offer browser extensions, a full-service online app, add-on for Windows but also works across both Windows and Mac platforms. It also allows for intercrossing between apps such as Google Docs.

For this program to work, you’ll need to be connected to the internet so that the program is able to communicate with the AI as it is still learning. Though this can be seen as a flaw with the system, the more feedback it gains the more it learns and will be able to pick up on any, if not all 

Otherwise, it offers all the different types of proofreading software mentioned above.

While the MS Add-On only works on Windows computers, if you are a Mac user, you can still use the desktop app and insert the .docx file into it and it’ll do the same thing - it’s just not real-time editing.

  • Is offered as multiple versions and is consistent

  • Super easy and user-friendly interface, its almost as if there’s no learning curve

  • Quick one-click suggestions

While the basic suggestions are free, meaning your standard spellcheck, grammar and style check, there’s a premium version with paid plans that you can choose to pay for based on your needs.

2. ProWriting Aid

ProWriting Aid is one of the only apps that even comes to a close second to Grammarly. Just as with most, if not all proofreading apps, it does need internet to run. It can also run on web browsers such as Chrome, Google Docs, and as a desktop app. Like Grammarly, it does not run on MS Office with Apple.

While it runs like Grammarly, it lost in the battle because its features were not as useful. Rather, its suggestions cluttered the screen, the interface was not as clean and simple to use, and unlike Grammarly, it offered less one-click corrections - something that is a key aspect of Grammarly’s software due to its convenience.

3. Hemingway App

logo.png

As for the Hemingway App, its purpose is more for bloggers rather than authors and didn’t do so well in the tests. But, one of the features it has that Grammarly and ProWriting Aid do not have is the ability to work offline. This can work in your favour but it also means a less smart AI as there needs to be an internet connection for the computer to communicate with the AI and for it to gain feedback to learn from.

While it does offer an online version, if you happen to lose internet connection, your computer randomly shuts down or even if you accidentally close a tab, then you can say goodbye because it doesn’t save any of your progress.

It also does not offer the same amount of features, rather when it gives you suggestions they’re very general as opposed to specifics, no one-click corrections, and is more catered towards sites like WordPress and Medium.


4. Ginger Software

ginger-logo.png

Though Ginger Software’s marketing and sales strategy seems top notch, the software itself doesn’t even come up to par with Grammarly. However, like Grammarly it does offer a free Chrome extension with the option of paid premium plans. 

When you open their site, they give you the option of copying and pasting up to 300 characters (including spaces) for a quick grammar check.

5. LanguageTool

5e5ab1a66297101f25733b0829dc8c2d3cc200b8.png

While Language Tool offers plenty of extensions and add-ons, and you can try it for free online but its AI, just like the rest of the proofreading softwares is not as smart as Grammarly’s. The online can be useful though it doesn’t offer one-click corrections and when undoing an action, you’ll have to go through your entire paper again.

6. Slick Write

Slick Write isn’t too bad at finding any errors or mistakes, but it sure isn’t a great tool for actually fixing the problem. In a sense, this can be seen as a more advanced option for a proofreading software because when asking for an explanation, it’ll be too complicated to understand unless you’re already knowledgeable in grammar and sentence structures - which isn’t particularly useful when you’re trying to edit a paper.


7. WhiteSmoke

WhiteSmoke-Discount.png

Right off the bat, White Smoke is a paid software that doesn’t give you a free or trial version of the app. To see their plans you’d sign up for their email list and that’s when you’ll get an overview of their prices. Not to mention, the ‘demo video’ doesn’t really show anything to do with what the app actually has to offer and how it works. So, this one isn’t really an ideal choice unless you’re willing to risk it with some actual money spending.


8. PaperRater

NiycYiVm.png

PaperRater is supposedly a tool to help students with their papers - or at least that’s what they tell you. It doesn’t really do anything for you, and when you click on ‘advanced analysis’, expecting a detailed report, it’ll take you to - you guessed it: Grammarly.

BONUS: Google Docs

c4b7e910d6116073f9efd0e343342920.png

More recently, Google Docs has come to light with a new, already installed proofreader. It does your basic spell check as well as grammar checks, ensuring that you make sense and aren’t too wordy. Though it doesn’t necessarily have the same features as Grammarly, no explanations just simple suggestions in style, grammar and spelling, but for a quick simple edit it works well.

Simply go through your ‘Tools’ tab and click on it to activate this new tool!

CONCLUSION

There are plenty of editing softwares out there and though imperfect, Grammarly is the best one by far, and its AI is only continuing to learn from here on out which means it can only get better from here. However, if your goal is to write a book and become an author, you should still find a human editor since proofreading softwares only do the more simple, technical things.

Now that you’re all set, all that’s left to do is to get started (and don’t forget to download a proofreading software along for the ride, it’ll just make things easier for you as you type along)! That being said, what editing software will you be using? And how did it go? Let us know!

Once you’re done writing your book, think about looking into different formats and platforms to be able to sell it! One way that’s been rapidly growing are audiobooks.

Written by Tina Phong

If you need help turning your book into an audiobook, we offer audiobook production services that will help you reach a wider audience and increase your book sales. 

Listen to some of our audiobook samples here to get started.